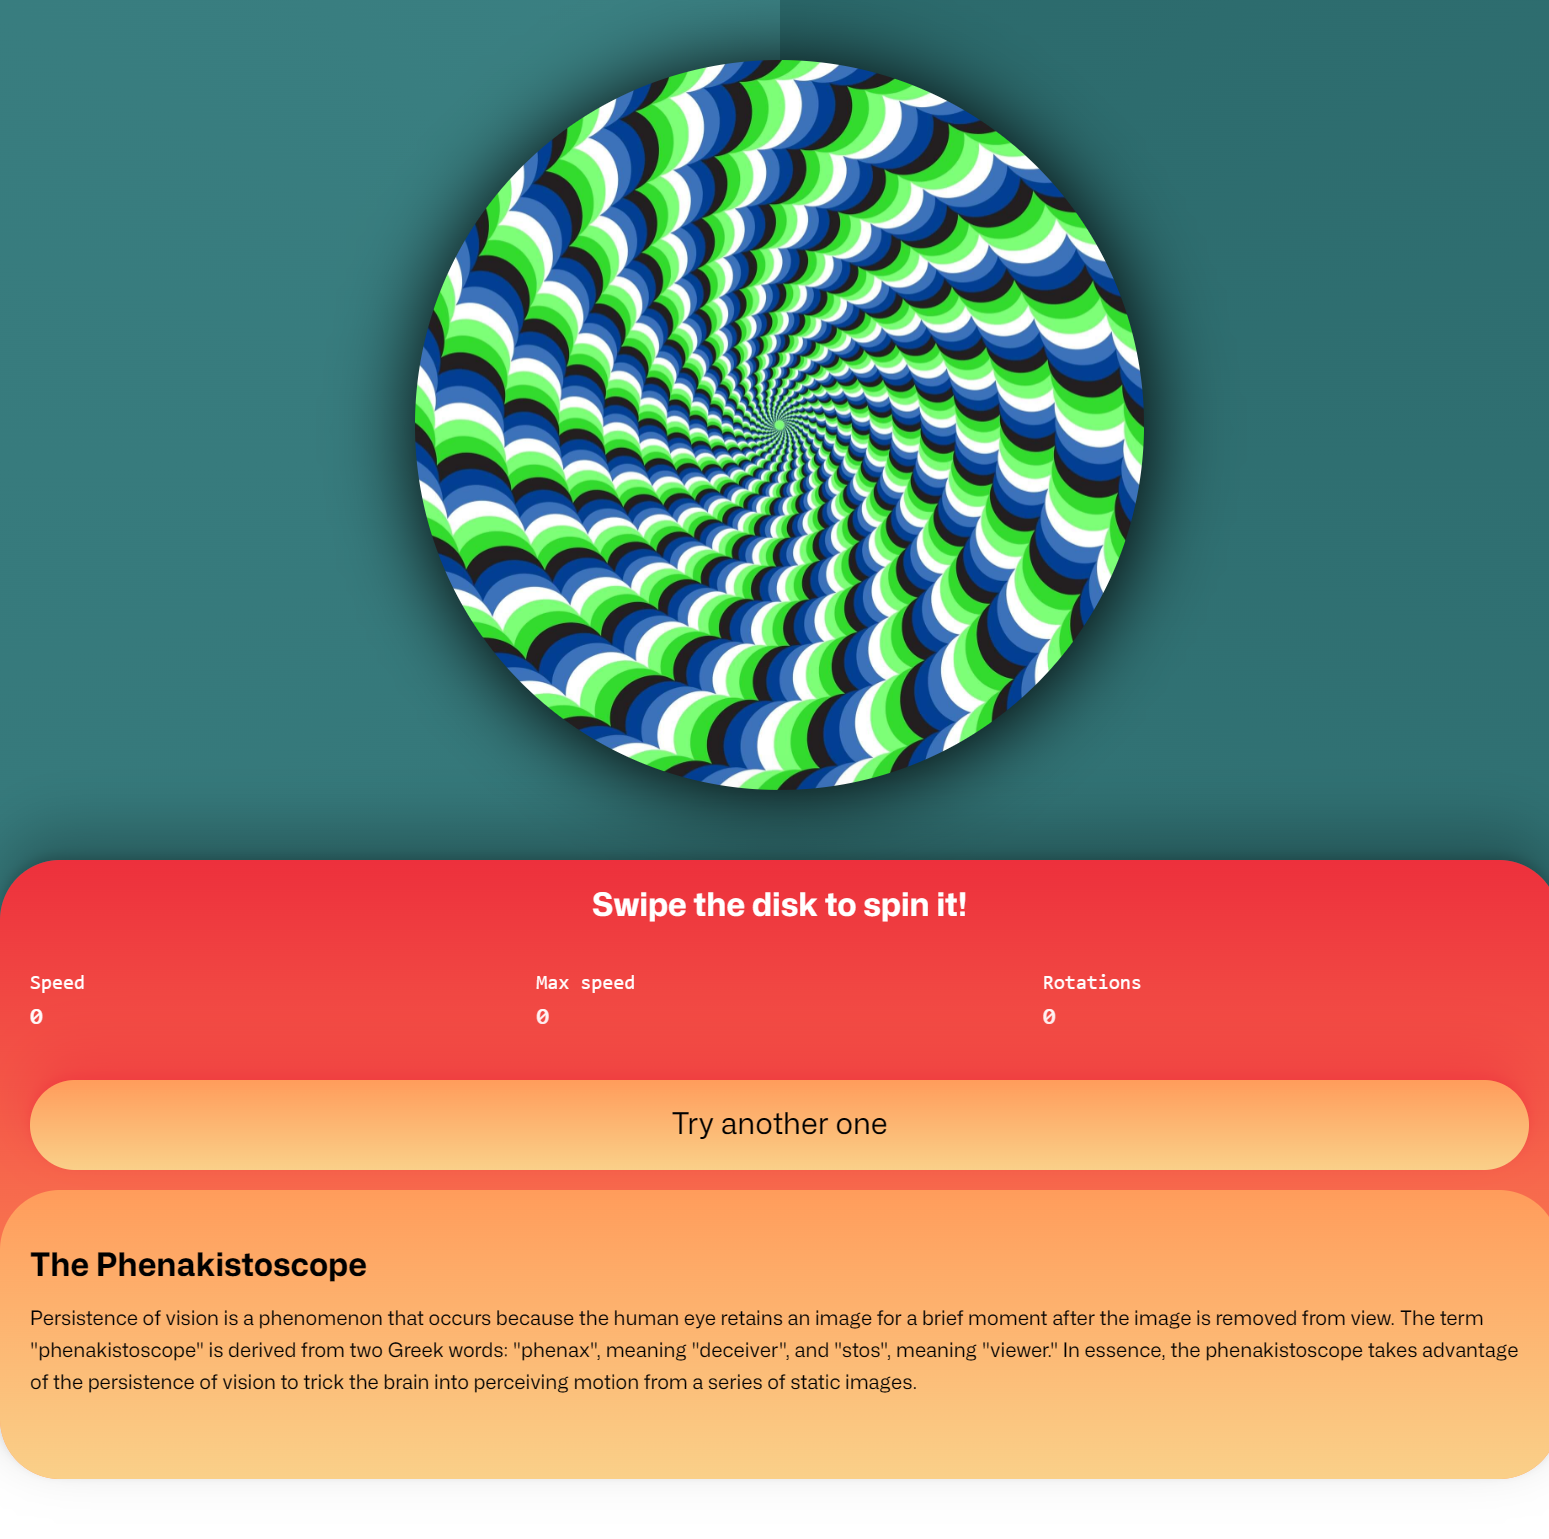
In this tutorial, you will learn how to create a JavaScript spinner that mimics the effect of a Phenakistoscope, an early animation device that creates the illusion of motion by spinning images rapidly.
The JavaScript is using the Propeller JavaScript library, a JavaScript library to rotate elements with mouse or touch gestures. Supports inertia and stepwise rotation. It’s pretty interesting. The reason I built this spinner is that I had different Phenakistoscope step slides, that required different JavaScript configurations, and I wanted to have a full set of different step slides.
This is what we will create (it looks really good on a mobile device, just turn the volume down).
HTML Structure
First, let’s set up the HTML structure. In my case, I used a PHP array, as I had to pass both the slide image and the steps.
<?php
$spinners = [
    [
        'spinner-1.jpg',
        0,
    ],
    [
        'spinner-2.jpg',
        0,
    ],
    [
        'spinner-3.jpg',
        0,
    ],
    [
        'spinner-4.jpg',
        0,
    ],
    [
        'spinner-5.jpg',
        0,
    ],
    [
        'spinner-6.jpg',
        0,
    ],
    [
        'ph1.jpg',
        16,
    ],
    [
        'ph2.png',
        11,
    ],
    [
        'ph3.jpg',
        11,
    ],
    [
        'ph4.gif',
        10,
    ],
    [
        'ph5.gif',
        12,
    ],
    [
        'ph6.jpg',
        10,
    ],
    [
        'ph7.jpg',
        10,
    ],
    [
        'ph8.jpg',
        10,
    ],
    [
        'fidget1.png',
        0,
    ],
];

$spinner       = $spinners[ array_rand( $spinners ) ];
$spinner_url   = $spinner[0];
$spinner_steps = $spinner[1];

$out = '<div class="spinner-container">
    <div class="spinner-wrap">
        <img class="spinner" src="assets/' . $spinner_url . '" data-spinner-steps="' . $spinner_steps . '">
    </div>
</div>';
If you want to use JavaScript to output a set of slides, the code below will give you an out variable to display wherever you need it:
const spinners = [
['spinner-1.jpg', 0],
['spinner-2.jpg', 0],
['spinner-3.jpg', 0],
['spinner-4.jpg', 0],
['spinner-5.jpg', 0],
['spinner-6.jpg', 0],
['ph1.jpg', 16],
['ph2.png', 11],
['ph3.jpg', 11],
['ph4.gif', 10],
['ph5.gif', 12],
['ph6.jpg', 10],
['ph7.jpg', 10],
['ph8.jpg', 10],
['fidget1.png', 0],
];
// Choose a random spinner
const randomIndex = Math.floor(Math.random() * spinners.length);
const spinner = spinners[randomIndex];
const spinnerUrl = spinner[0];
const spinnerSteps = spinner[1];
// Construct HTML for the spinner
const out = `
<div class="spinner-container">
<div class="spinner-wrap">
<img class="spinner" src="assets/${spinnerUrl}" data-spinner-steps="${spinnerSteps}">
</div>
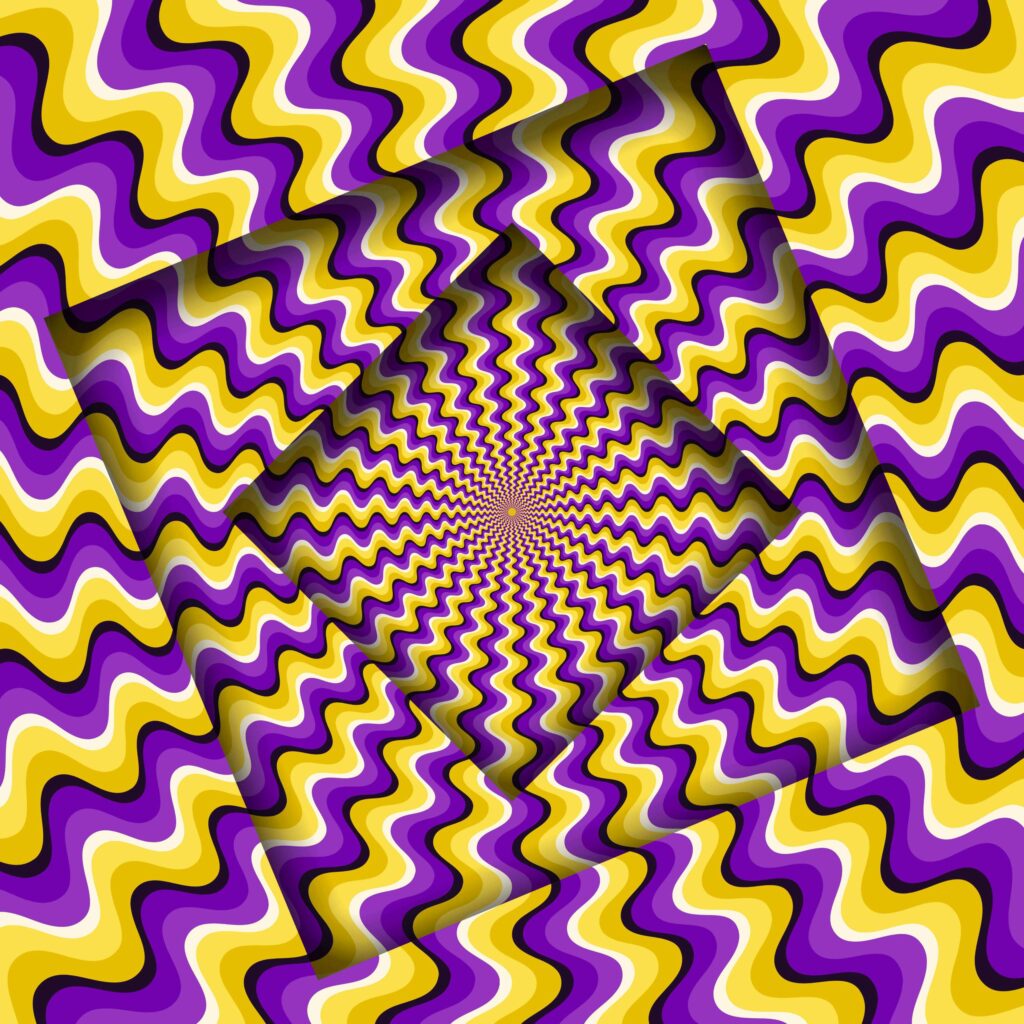
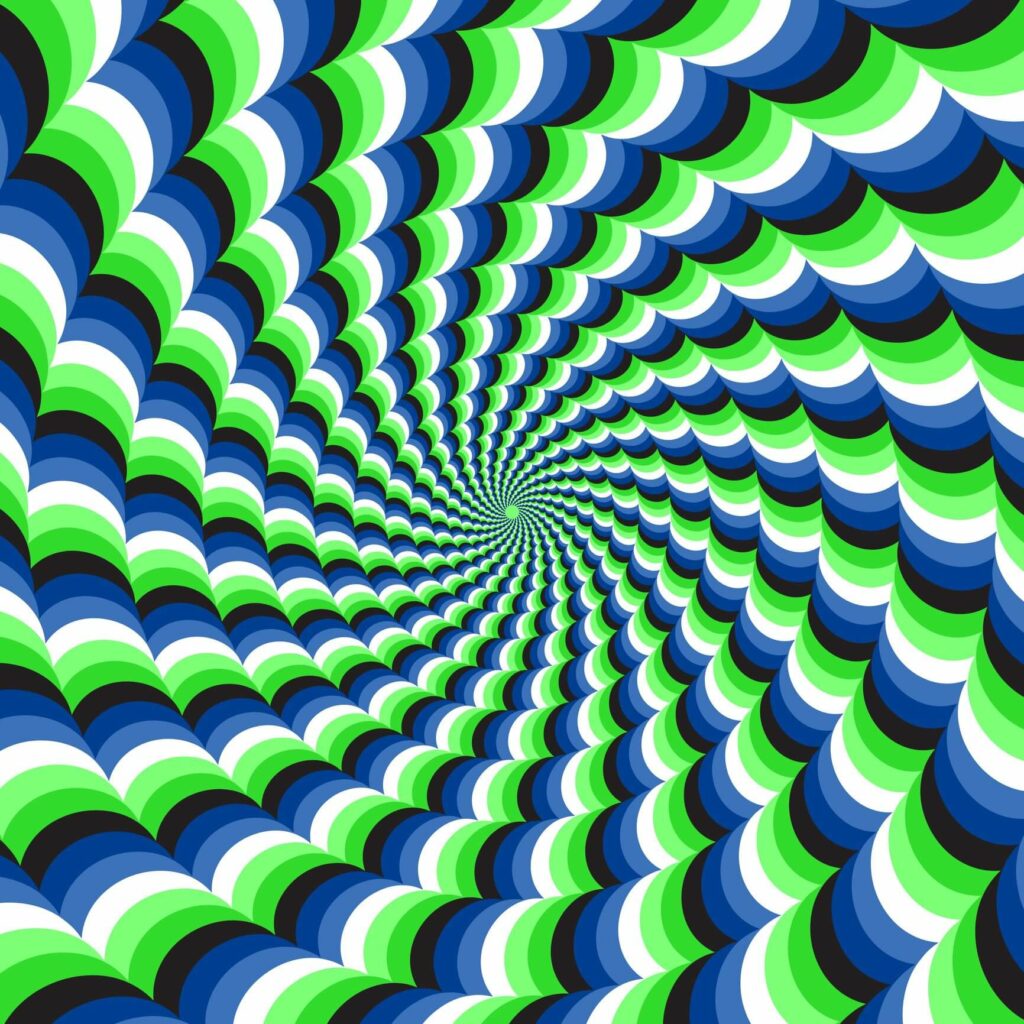
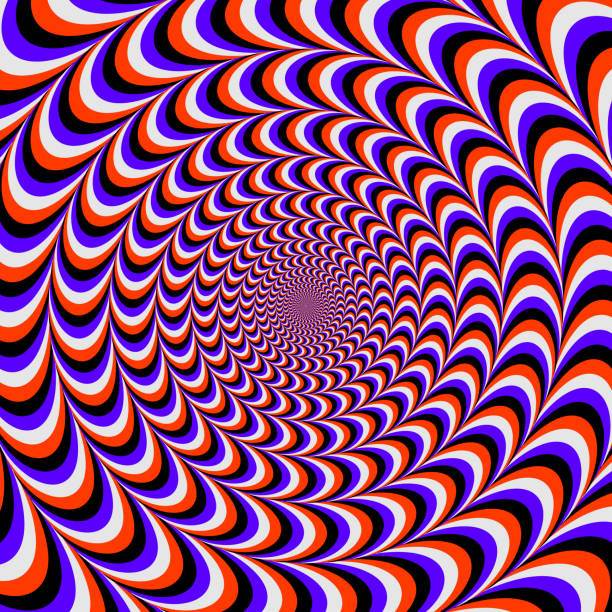
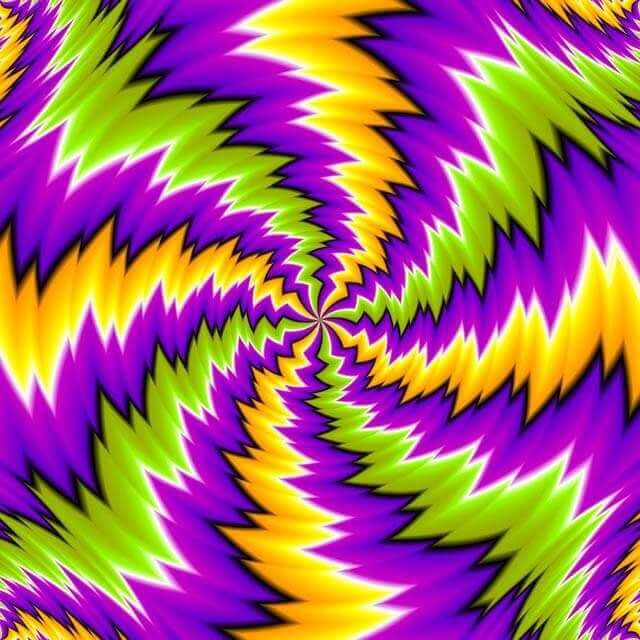
</div>`;Note that a value of 0 steps will trigger a smooth rotation. This is useful for various “optical illusion” slides, that I thought would be fun to have. It can also work with a fidget spinner.

JavaScript Code
Next, let’s break down the JavaScript code:
// Initialize variables to keep track of spinner state
var maxSpeed = 0; // Maximum speed reached by the spinner
var rotationCount = 0; // Number of full rotations made by the spinner
var previousAngle = 0; // Previous angle of rotation
var currentSpeedLabel = document.getElementById("current-speed"); // Element to display current speed

// Get the spinner element
var spinner = document.getElementsByClassName("spinner")[0];

// Controls
// Get the number of steps for the spinner rotation
let steps = document.querySelector('.spinner').dataset.spinnerSteps;
let step = (parseInt(steps, 10) === 0 ) ? 0 : 360 / steps;

// Create a new Propeller instance for the spinner
var x = new Propeller(spinner, {
    step: step, // Angle step for rotation
    inertia: 1, // Inertia of the spinner
    onStop: function () {
        // Reset rotation count when spinner stops
        rotationCount = 0;
    },
    onDragStart: function () {
        // Reset rotation count when spinner drag starts
        rotationCount = 0;
    },
    onRotate: function () {
        // Function called when spinner rotates

        // Get elements for displaying metrics
        var maxSpeedLabel = document.getElementById("speed");
        var rotationLabel = document.getElementById("rotations");

        // Update max speed
        maxSpeed = Math.max(maxSpeed, Math.abs(Math.floor(this.speed)));
        maxSpeedLabel.innerHTML = maxSpeed;

        // Calculate current angle of rotation
        var currentAngle = x.angle;

        // Check if the angle has moved from close to 360 to close to 0
        if (previousAngle > 300 && currentAngle < 60) {
            // Increment rotation count
            rotationCount += 1;
        } else if (previousAngle < 60 && currentAngle > 300) {
            // Increment rotation count when moving from close to 0 to close to 360
            rotationCount += 1;
        }

        // Calculate a value 'b' based on speed and angle
        var b = ((Math.abs(this.speed) + 1) / currentAngle) * 10;

        // Call example4 function with speed and angle values
        example4((Math.abs(this.speed) + 1) * currentAngle, "sine");

        // Update spinner background gradient based on angle
        document.querySelector(
            ".spinner-container"
        ).style.background = `conic-gradient(from ${
            currentAngle * -1
        }deg, #2b696b, #3b8183)`;

        // Update previous angle
        previousAngle = currentAngle;

        // Ensure rotation count is a whole number
        rotationCount = Math.floor(Math.abs(rotationCount));

        // Update rotation count and current speed labels
        rotationLabel.innerHTML = rotationCount;
        currentSpeedLabel.innerHTML = Math.abs(this.speed).toFixed(2);
    },
});

/**
 * music.js
 *
 * @url https://marcgg.com/blog/2016/11/01/javascript-audio/
 */

// Create AudioContext
var context = new AudioContext();
var o = null;
var g = null;

// Example functions for audio effects

// Example 1: Simple sine wave oscillator
function example1() {
    o = context.createOscillator();
    o.type = "sine";
    o.connect(context.destination);
    o.start();
}

// Example 2: Oscillator with gain
function example2() {
    o = context.createOscillator();
    g = context.createGain();
    o.connect(g);
    g.connect(context.destination);
    o.start(0);
}

// Stop Example 2 with exponential ramp
function example2Stop(decreaseTime) {
    g.gain.exponentialRampToValueAtTime(
        0.00001,
        context.currentTime + decreaseTime
    );
}

// Example 3: Oscillator with exponential ramp
function example3(type, x) {
    o = context.createOscillator();
    g = context.createGain();
    o.connect(g);
    o.type = type;
    g.connect(context.destination);
    o.start(0);

    g.gain.exponentialRampToValueAtTime(0.00001, context.currentTime + x);
}

// Example 4: Oscillator with frequency and exponential ramp
function example4(frequency, type) {
    o = context.createOscillator();
    g = context.createGain();
    o.type = type;
    o.connect(g);
    o.frequency.value = frequency;
    g.connect(context.destination);
    o.start(0);

    // Exponential ramp to stop oscillator
    g.gain.exponentialRampToValueAtTime(0.00001, context.currentTime + 1);

    // Stop oscillator after 4 seconds
    setTimeout(function (stoprightthere) {
        o.stop();
    }, 4000);
}
Audio Effects (Optional)
The JavaScript code also includes some functions for audio effects. While this works really well on desktop devices, the sound can get pretty annoying on mobile devices, due to a limitation in the number of audio sources being spawned by the browser. I kept the various audio examples in the source code, in case I needed to play with different variations.
CSS Styling
Finally, here’s the CSS styling for the spinner:
/* Spinner Styles */
.spinner-container {
    display: flex;
    justify-content: space-around;
    padding: 48px 48px 96px 48px;
    background: conic-gradient(from 0deg, #2b696b, #3b8183);
}
.spinner-wrap {
    max-height: 100vh;
}
.spinner {
    max-width: 90vw;
    max-height: 80vh;
    width: auto;
    height: auto;
    border-radius: 100%;
    filter: drop-shadow(2px 4px 32px black);
}

/* Other Styles (Optional) */
.metric {
    font-size: 16px;
    font-family: monospace;
    margin-top: 20px;
    margin-bottom: 20px;
    width: 33.33%;
}
.spinner-overlay {
    background-color: #ed303c;
    background: linear-gradient(0deg, #ff9c5b, #ed303c);
    color: #ffffff;
    padding: 24px 24px 0 24px;
    border-radius: 48px;
    display: flex;
    flex-direction: column;
    gap: 1em;
    align-items: center;
    transform: translateY(-48px);
    box-shadow: 0 -24px 48px rgba(0, 0, 0, 0.25), 0 -4px 8px rgba(0, 0, 0, 0.15);
}
A bit of history
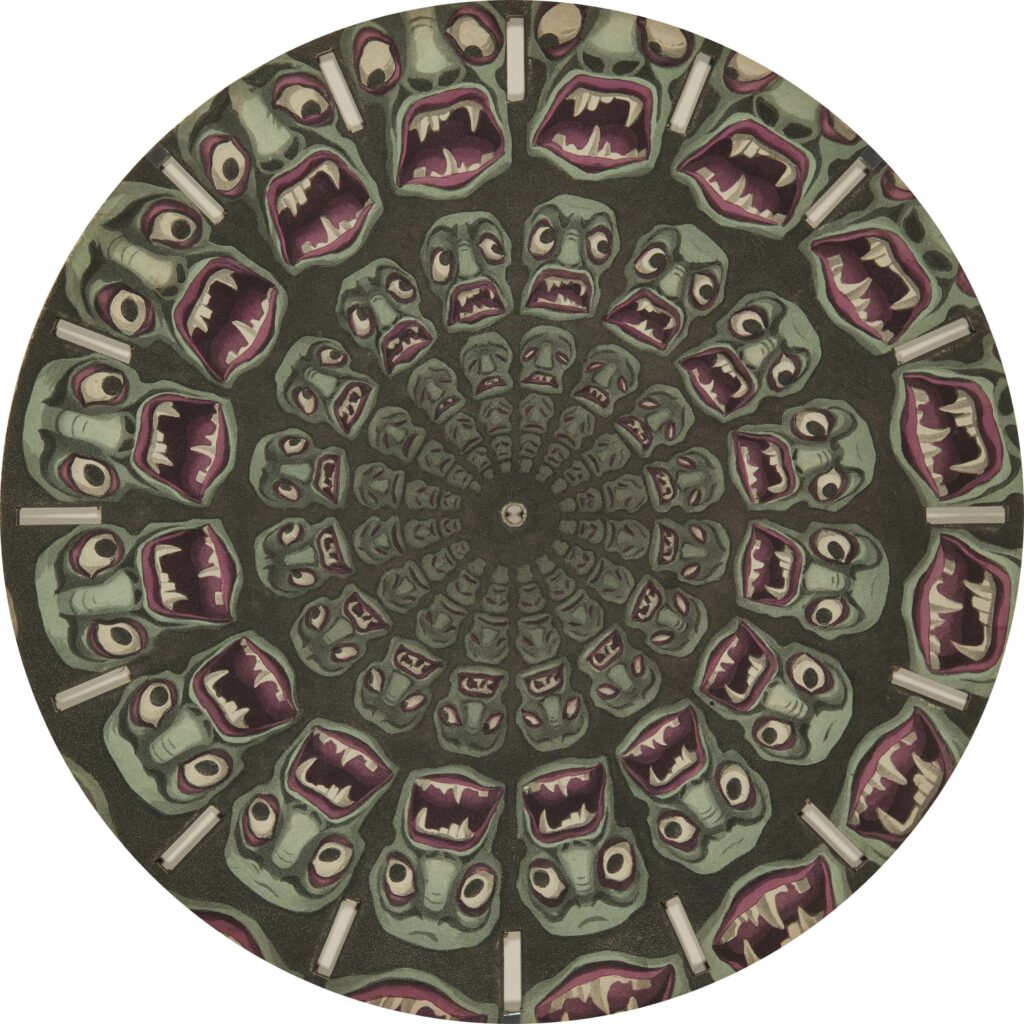
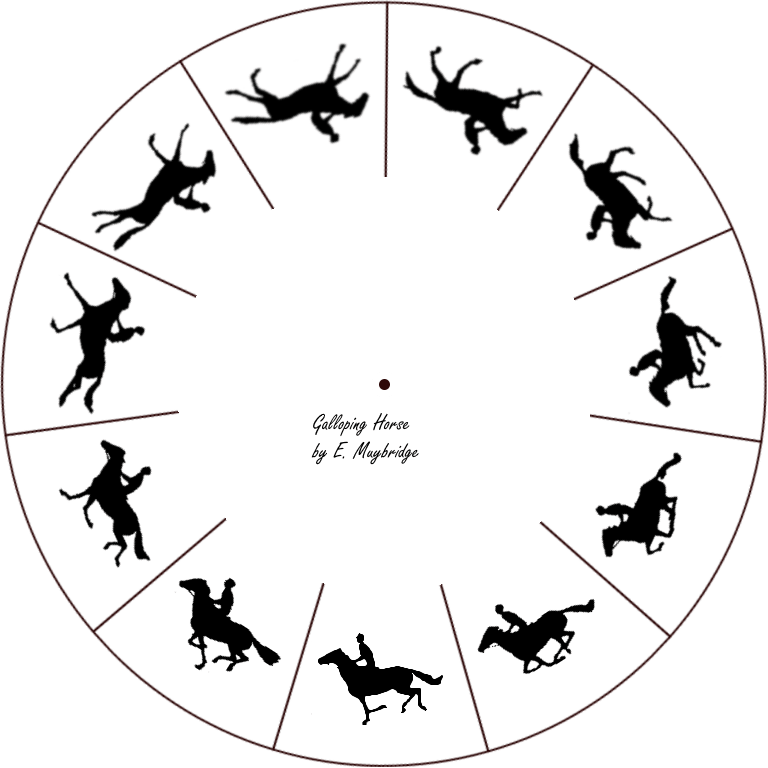
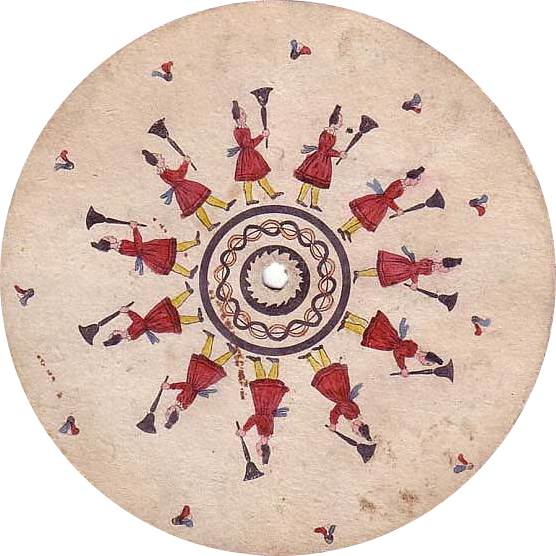
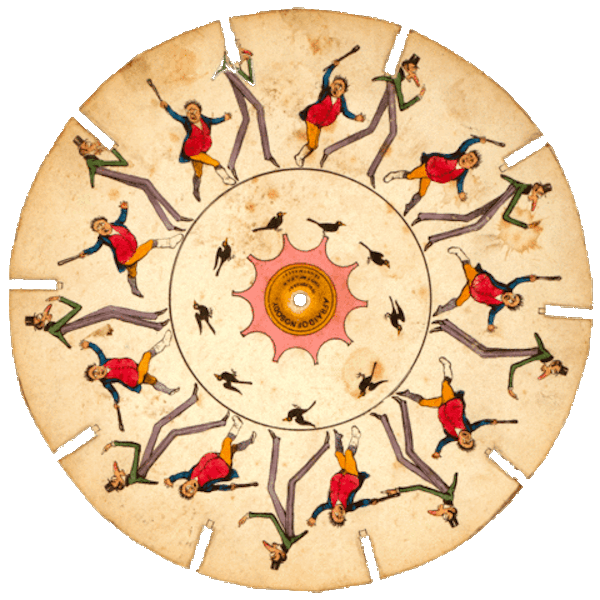
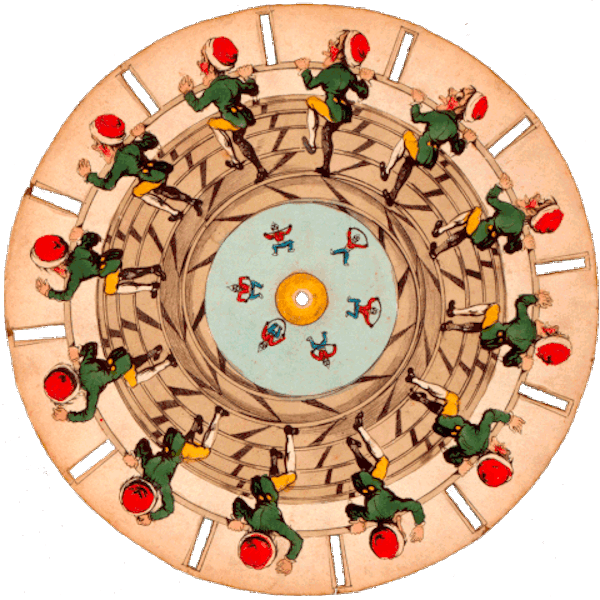
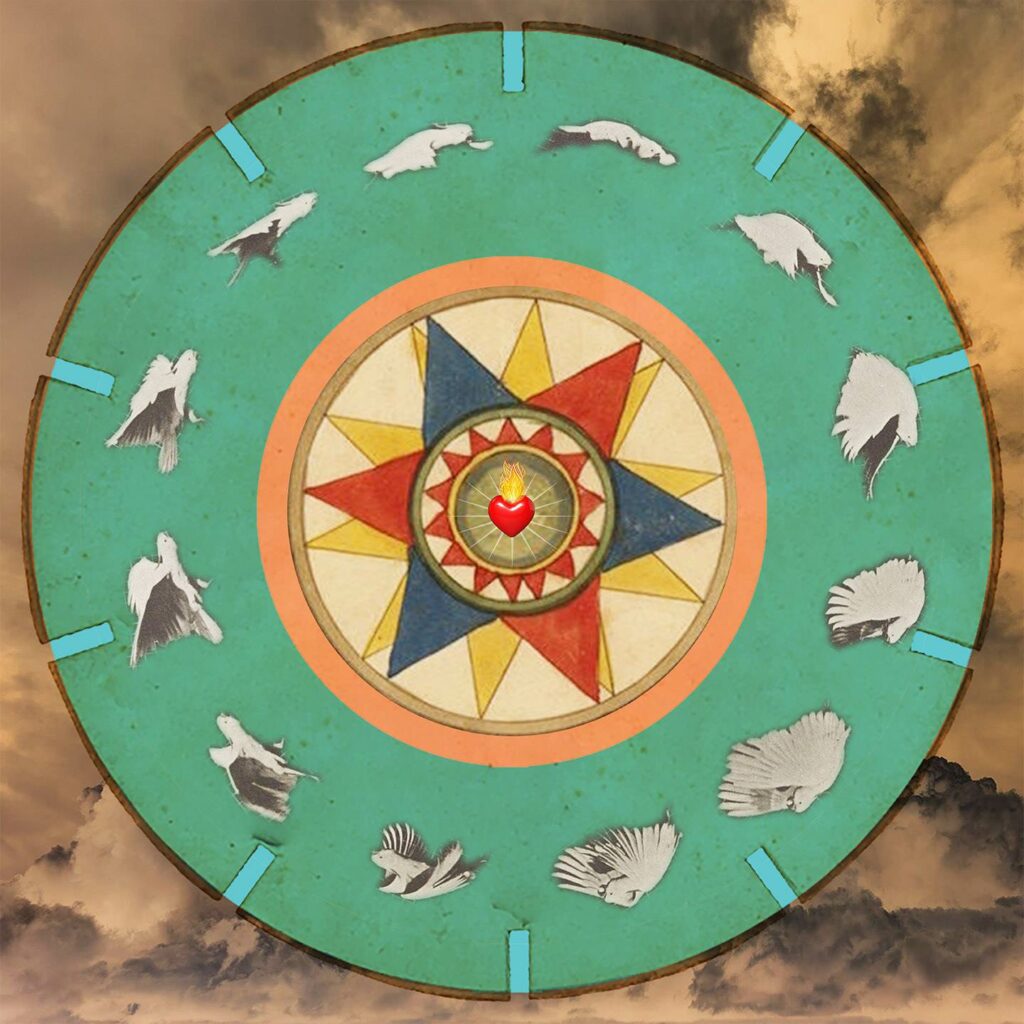
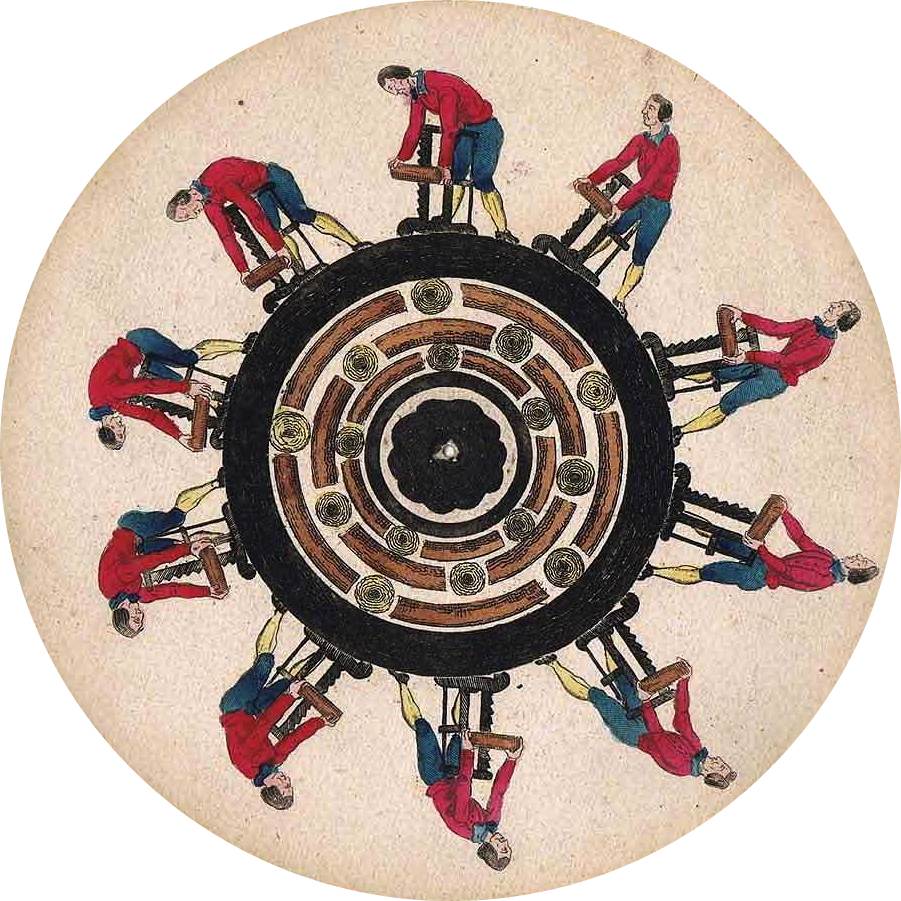
Phenakistoscope slides, also known as “animation discs,” typically have a specific number of frames or steps that create the illusion of motion when spun rapidly. The number of steps can vary depending on the complexity of the animation and the desired smoothness of the motion.
- 7 steps: Some basic Phenakistoscope animations may have only 7 steps, creating a simple animation with fewer frames. This results in a somewhat choppy motion but is still recognizable as animation.
- 8 steps: Similar to 7 steps, but with an additional frame, resulting in slightly smoother motion.
- 12 steps: A common number of steps for Phenakistoscope animations. With 12 frames, the animation appears smoother and more fluid compared to animations with fewer steps.
- 16 steps: Offering even smoother motion, animations with 16 steps provide greater detail and realism. This number of steps is often used for more complex animations.
- More steps: Some Phenakistoscope slides may have even more steps, such as 24, 30, or even more. These animations can achieve very smooth and detailed motion, suitable for intricate scenes or detailed character animations.
The number of steps directly impacts the smoothness and detail of the animation. More steps allow for finer increments of movement between frames, resulting in smoother motion. However, creating more steps also requires more precise artwork and may increase the complexity of the animation process.
A quick Google search can find hundreds of these slides. Another challenge for me was to make sure the center is the exact center, as the images are usually scans or photographs of old slides.