Brute-force login attacks pose a significant threat to the security of WordPress websites. This type of attack involves repeatedly guessing a user’s login credentials to gain access to the admin panel.
To combat this, many WordPress users install a plugin that limits login attempts. However, it is also possible to secure your WordPress site without relying on a plugin. This guide will demonstrate how to use custom code to block users who have exceeded a certain number of failed login attempts, and set a temporary period before they can try logging in again. By following this guide, you’ll be able to safeguard your WordPress site from brute-force login attacks.
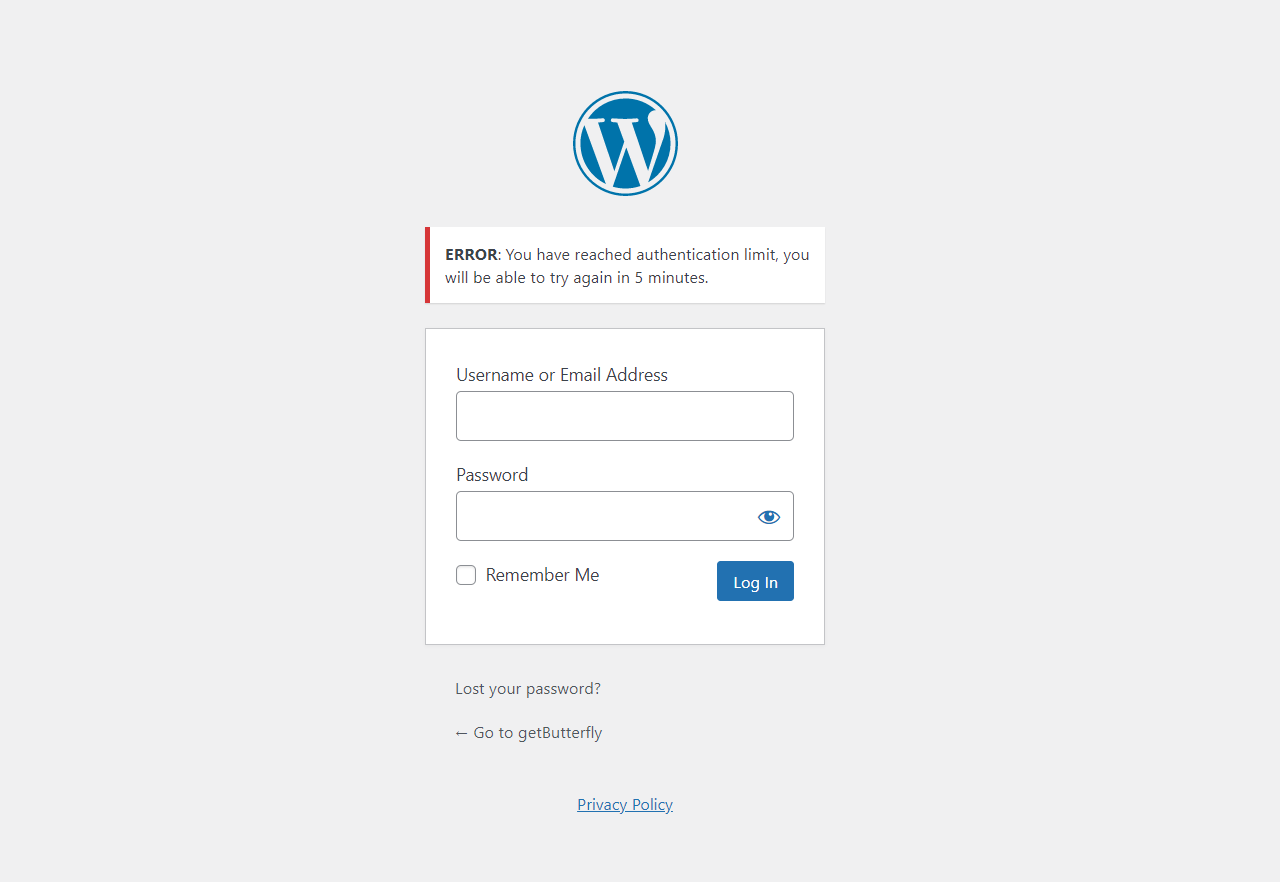
For those who want to secure WordPress sites by limiting login attempts without a plugin, keep reading. Anyone, upon trying to log in more than 3 times with the wrong login credentials, will see an error message and will be blocked for a specific period of time. Additionally, an email notification can be sent to an administrator.

This code is a custom solution for limiting login attempts in a WordPress site without using a plugin. The code uses the wp_login_failed action tag and authenticate filter tag to hook functions that get and set an attempted_login transient. The number of failed attempts is stored temporarily and used to alert the user once the limit is reached. The code also includes a function to calculate the remaining time until the user can try to log in again after being blocked.
Here is the code:
function whiskey_check_attempted_login( $user, $username, $password ) {
    if ( get_transient( 'attempted_login' ) ) {
        $datas = get_transient( 'attempted_login' );

        if ( $datas['tried'] >= 3 ) {
            $until = get_option( '_transient_timeout_' . 'attempted_login' );
            $time  = whiskey_time_to_go( $until );

            wp_mail( 'name@example.com', 'Brute force login detected!', 'Brute force login detected!' );

            return new WP_Error( 'too_many_tried', "<strong>ERROR</strong>: You have reached authentication limit, you will be able to try again in $time." );
        }
    }

    return $user;
}

add_filter( 'authenticate', 'whiskey_check_attempted_login', 30, 3 );

function whiskey_login_failed( $username ) {
    if ( get_transient( 'attempted_login' ) ) {
        $datas = get_transient( 'attempted_login' );

        $datas['tried']++;

        if ( $datas['tried'] <= 3 ) {
            set_transient( 'attempted_login', $datas, 300 );
        }
    } else {
        $datas = [
            'tried' => 1,
        ];

        set_transient( 'attempted_login', $datas, 300 );
    }
}

add_action( 'wp_login_failed', 'whiskey_login_failed', 10, 1 );

function whiskey_time_to_go( $timestamp ) {
    // Convert the MySQL timestamp to PHP time
    $periods = [
        'second',
        'minute',
        'hour',
        'day',
        'week',
        'month',
        'year',
    ];

    $lengths = [
        '60',
        '60',
        '24',
        '7',
        '4.35',
        '12',
    ];

    $current_timestamp = time();
    $difference        = abs( $current_timestamp - $timestamp );

    for ( $i = 0; $difference >= $lengths[ $i ] && $i < count( $lengths ) - 1; $i++ ) {
        $difference /= $lengths[ $i ];
    }

    $difference = round( $difference );

    if ( isset( $difference ) ) {
        if ( (int) $difference !== 1 ) {
            $periods[ $i ] .= 's';
        }

        $output = "$difference $periods[$i]";

        return $output;
    }
}
Notes
- The first function,
whiskey_check_attempted_login, is hooked to theauthenticatefilter. It uses the WordPressget_transientmethod to get the count of failed login attempts. If the user has tried more than 3 times with the wrong login, it will return a WordPress error about the failed login limit and block the user from logging in for a specified period of time. - The function
whiskey_login_failedis hooked to thewp_login_failedaction. It increments the tried login count every time a login attempt fails. Then the tried login count is set to theattempted_logintransient, which will be used later to block the user from logging in for a temporary period of time. - The
whiskey_time_to_gofunction calculates the remaining time until the user can try to log in again after being blocked. It converts the timestamp into a user-friendly time format. - The code uses the
time()function to get the current time andabs()function to calculate the absolute difference between the current time and the time when the user was blocked. - More details can be added to the administrator email (or to a custom database record) with the perpetrator’s IP address, username, or email.


