When I took over FX Builder and started updating it for the new ClassicPress 2+, I wanted to add some new features to the TinyMCE editor, something I use on a daily basis: headings, paragraphs, custom font sizes and more.
Below are some examples showing how to extend the functionality of the TinyMCE.
I’m not going to walk you through all the steps or what the code means exactly (this is intended for developers) but I will provide you with the exact code you can copy/paste in your theme or plugin and then tweak accordingly.
Important: This guide is specifically for the TinyMCE editor used for ClassicPress.
How to Enable the Font Size & Font Family Select Dropdowns
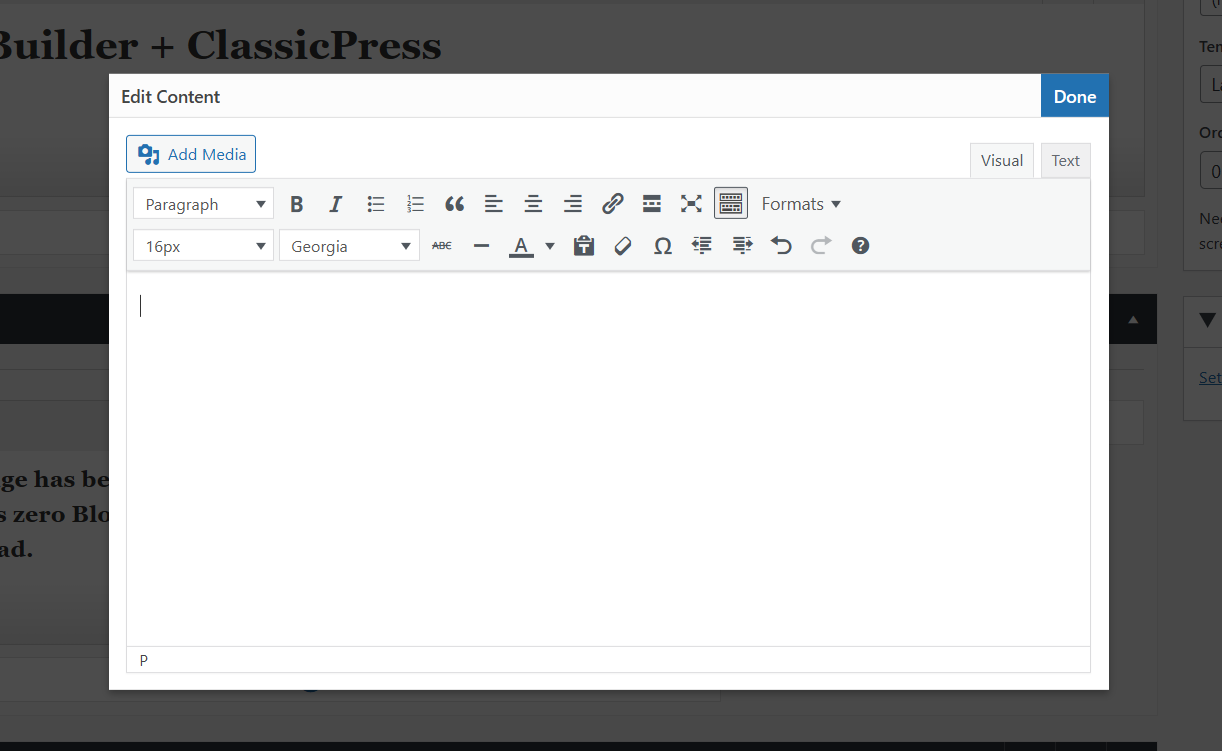
By default, the custom fonts and font sizes are not added into the TinyMCE editor. The function below will add both of these dropdowns to the far left of the editor in the second row. Simply change where it says ‘mce_buttons_2’ if you want it in a different row (ex: use ‘mce_buttons_3’ for the 3rd row).
// Enable font size & font family selects in the editor
add_filter( 'mce_buttons_2', function( $buttons ) {
    array_unshift( $buttons, 'fontselect' );
    array_unshift( $buttons, 'fontsizeselect' );

    return $buttons;
});
How to Add Custom Font Sizes
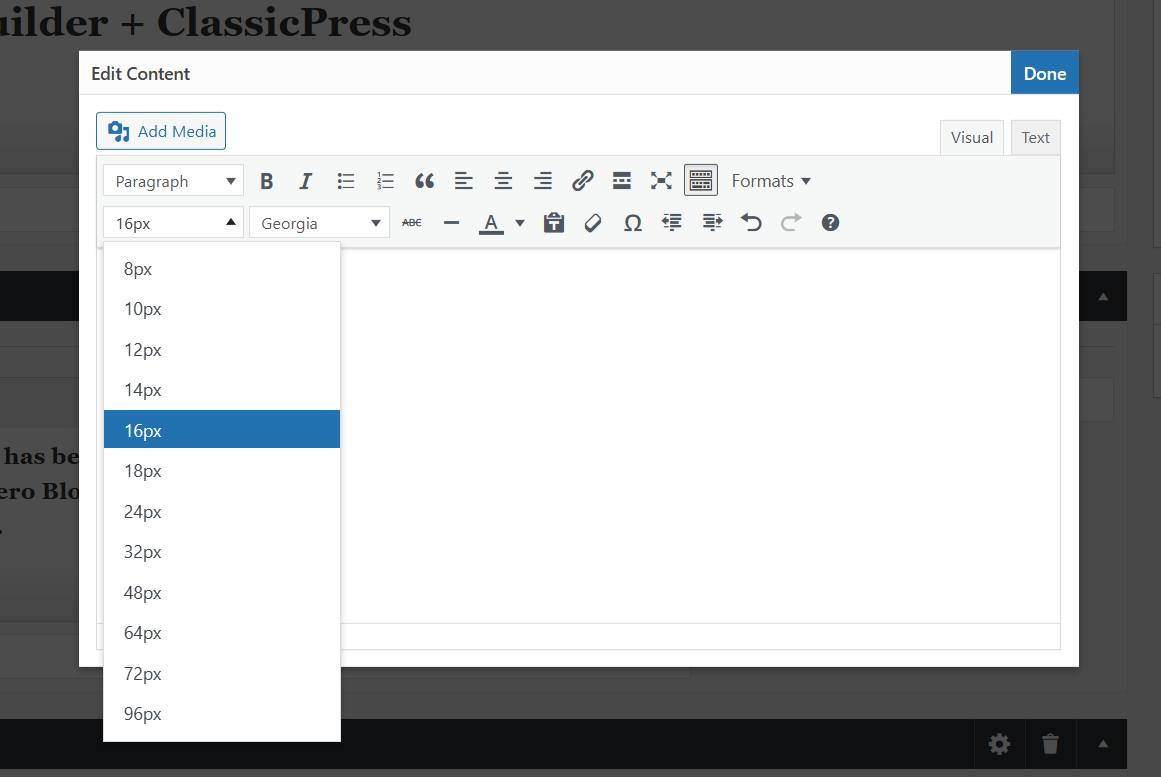
By default, the font sizes are set to point (pt) values, which isn’t always ideal. I prefer to use pixel values (12px, 13px, 14px, 16px, etc.) and to provide more options for greater flexibility. The function below will alter the default font size options in the dropdown selector, and will add even more (opinionated) sizes.
add_filter(
    'tiny_mce_before_init',
    function( $init_array ) {
        $init_array['fontsize_formats'] = '8px 10px 12px 14px 16px 18px 24px 32px 48px 64px 72px 96px';

        return $init_array;
    }
);
How to Add Custom Font Formats (Size and Weight)
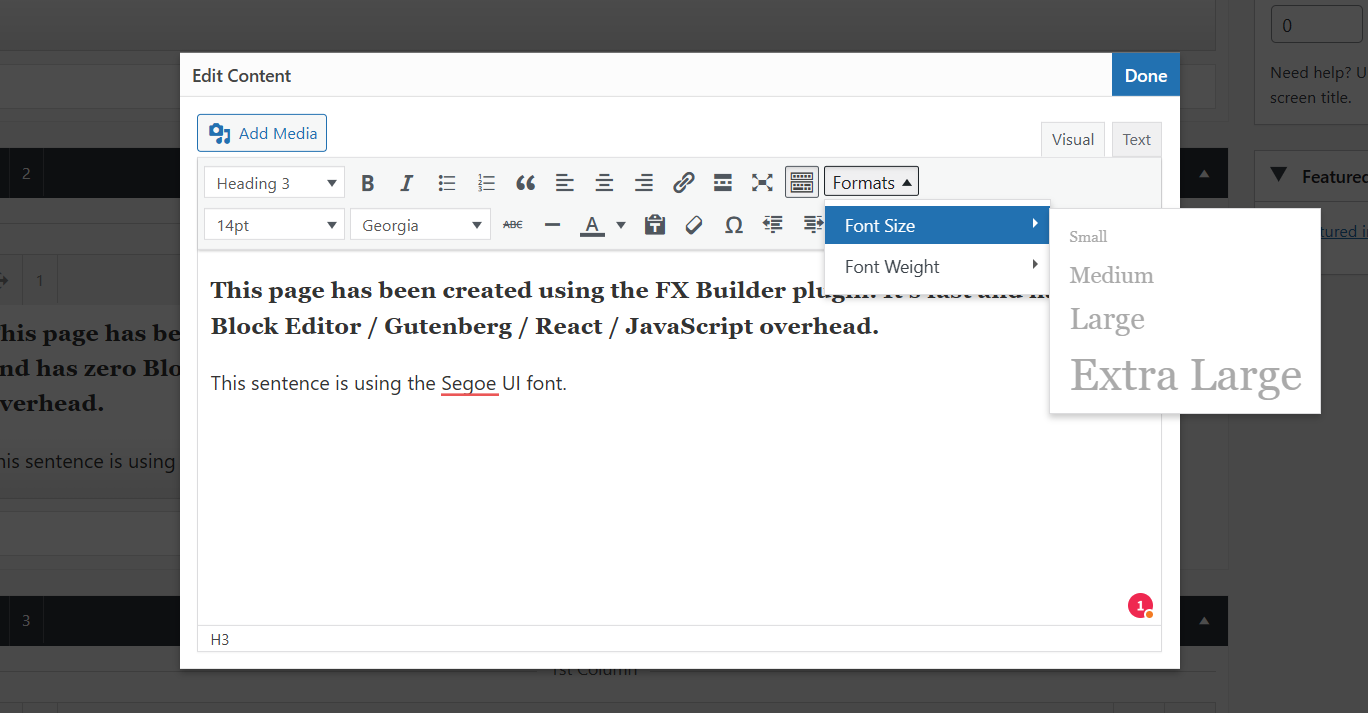
I wanted something similar to WordPress’ font bar, where you can select S, L, M and XL for fonts. I wanted something similar to their “Appearance” dropdown for font weights. See the example below:
add_filter(
    'tiny_mce_before_init',
    function( $settings ) {
        $new_styles = [
            [
                'title' => __( 'Font Size', 'fx-builder' ),
                'items' => [
                    [
                        'title'    => __( 'Small', 'fx-builder' ),
                        'selector' => 'p',
                        'styles'   => [
                            'font-size' => '12px',
                        ],
                    ],
                    [
                        'title'    => __( 'Medium', 'fx-builder' ),
                        'selector' => 'p',
                        'styles'   => [
                            'font-size' => '18px',
                        ],
                    ],
                    [
                        'title'    => __( 'Large', 'fx-builder' ),
                        'selector' => 'p',
                        'styles'   => [
                            'font-size' => '24px',
                        ],
                    ],
                    [
                        'title'    => __( 'Extra Large', 'fx-builder' ),
                        'selector' => 'p',
                        'styles'   => [
                            'font-size' => '36px',
                        ],
                    ],
                ],
            ],
            [
                'title' => __( 'Font Weight', 'fx-builder' ),
                'items' => [
                    [
                        'title'  => __( 'Light', 'fx-builder' ),
                        'inline' => 'span',
                        'styles' => [
                            'font-weight' => '300',
                        ],
                    ],
                    [
                        'title'  => __( 'Regular', 'fx-builder' ),
                        'inline' => 'span',
                        'styles' => [
                            'font-weight' => '400',
                        ],
                    ],
                    [
                        'title'  => __( 'Semibold', 'fx-builder' ),
                        'inline' => 'span',
                        'styles' => [
                            'font-weight' => '500',
                        ],
                    ],
                    [
                        'title'  => __( 'Bold', 'fx-builder' ),
                        'inline' => 'span',
                        'styles' => [
                            'font-weight' => '700',
                        ],
                    ],
                ],
            ],
        ];

        $settings['style_formats_merge'] = false;
        $settings['style_formats']       = wp_json_encode( $new_styles );

        return $settings;
    }
);
How to Add Custom Font Options
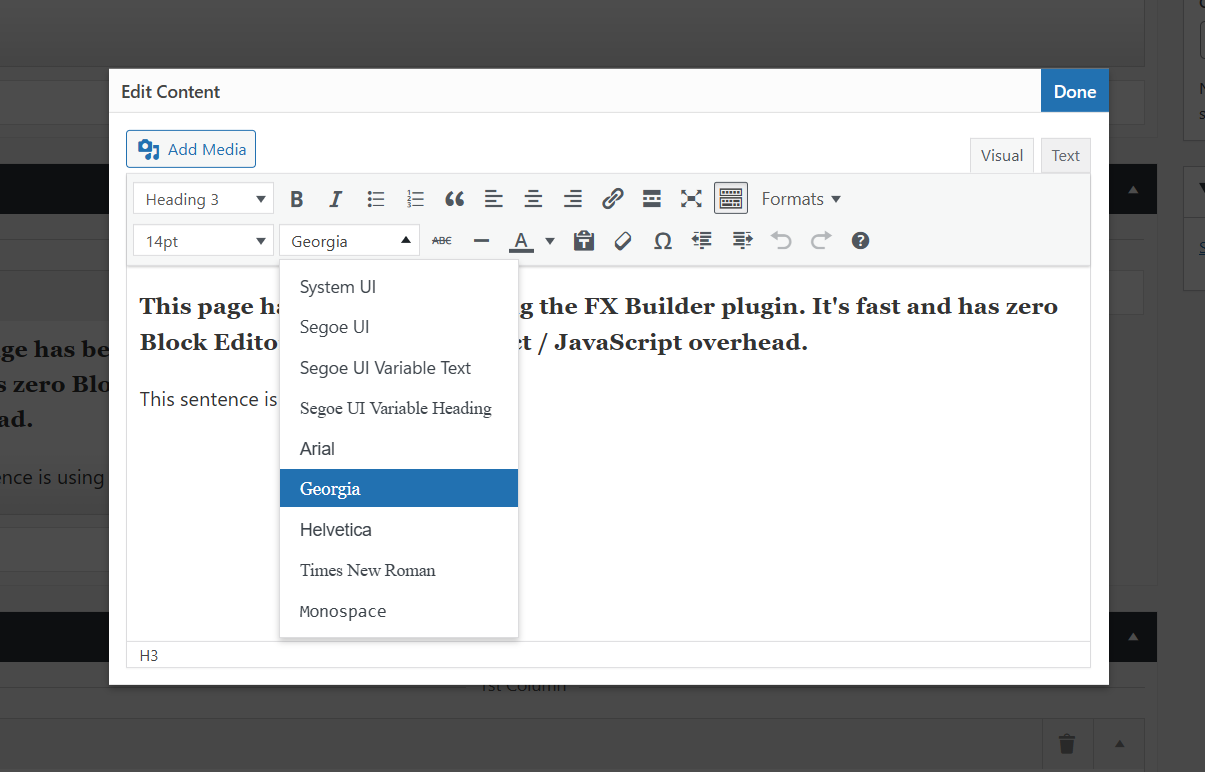
The default font options in the font family selector are all web safe fonts by default, and that is awesome. But what if you wanted to add more fonts to the selector? Maybe Google Fonts or custom fonts included with the theme? Well, it’s really easy. Let’s have a look at the example below:
add_filter(
    'tiny_mce_before_init',
    function( $init_array ) {
        $init_array['font_formats'] = 'System UI=-apple-system, BlinkMacSystemFont, Segoe UI Variable Text, Segoe UI, Roboto, Helvetica, Helvetica Neue, Oxygen, Ubuntu, Cantarell, Fira Sans, Droid Sans, Arial, sans-serif, Apple Color Emoji, Twemoji Mozilla, Segoe UI Emoji, Android Emoji;Segoe UI=Segoe UI;Segoe UI Variable Text=Segoe UI Variable Text;Segoe UI Variable Heading=Segoe UI Variable Heading;Arial=arial,helvetica,sans-serif;Georgia=georgia,palatino;Helvetica=helvetica;Times New Roman=times new roman,times;Monospace=ui-monospace, SFMono-Regular, SF Mono, Menlo, Consolas, Liberation Mono, monospace';

        return $init_array;
    }
);
Notice how I added “Segoe UI Variable Text” to the list in the code above? It’s my new favourite font (available on Windows 11 only, though)! If you are maintaining your own theme, you can loop through any custom fonts used defined in the theme panel and add them to the select box so they are also available while editing your content.
Editor Formats (styles)
Below is an example of how to enable the Formats dropdown and also add some new items to it.
How to Enable the Formats Dropdown Menu
add_filter(
    'mce_buttons',
    function( $buttons ) {
        array_push( $buttons, 'styleselect' );

        return $buttons;
    }
);
How to Add New Items to the Formats Dropdown
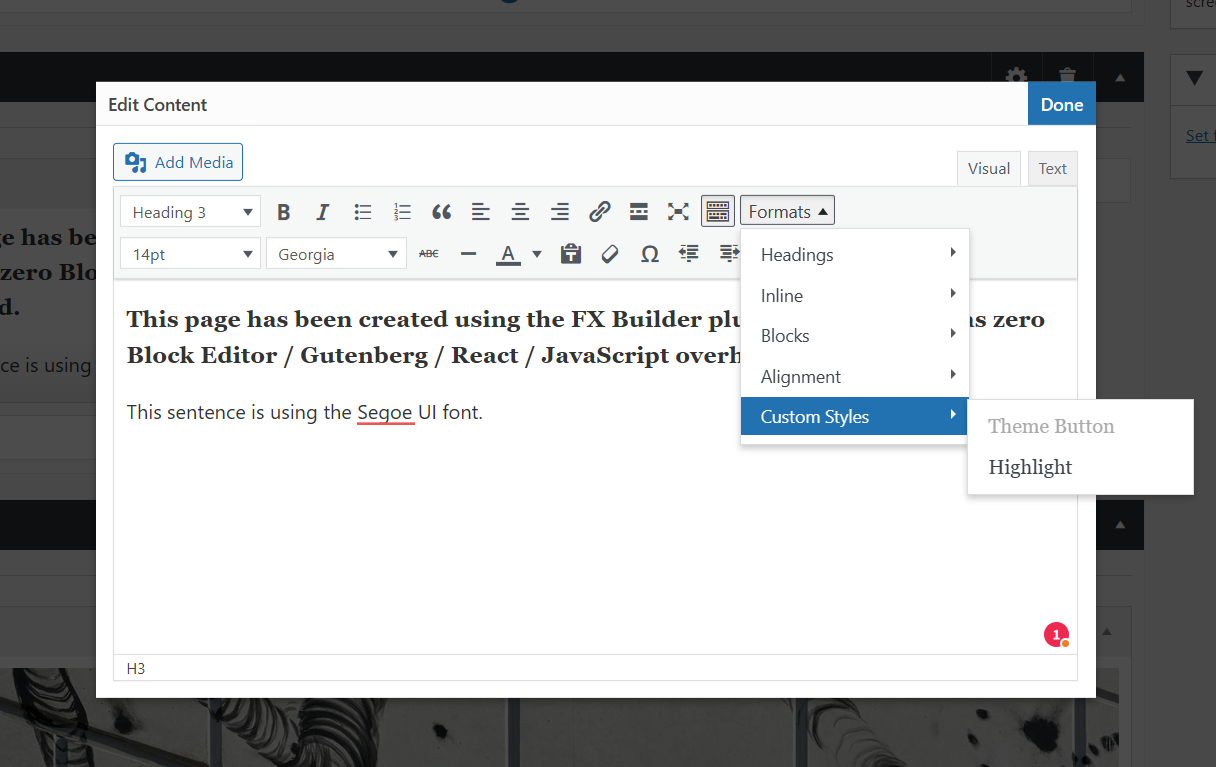
Adding new items is super easy. Below is a snippet showing how to add a theme button and highlight option. Note that all the styles and classes (.button and .highlight in this case) would need to be added both to the front-end and the editor stylesheet.
add_filter(
    'tiny_mce_before_init',
    function( $settings ) {
        $new_styles = [
            [
                'title' => __( 'Custom Styles', 'fx-builder' ),
                'items' => [
                    [
                        'title'    => __( 'Theme Button', 'fx-builder' ),
                        'selector' => 'a',
                        'classes'  => 'button',
                    ],
                    [
                        'title'   => __( 'Highlight', 'fx-builder' ),
                        'inline'  => 'span',
                        'classes' => 'highlight',
                    ],
                ],
            ],
        ];

        $settings['style_formats_merge'] = true;
        $settings['style_formats']       = json_encode( $new_styles );

        return $settings;
    }
);
Please notice how I’ve added $settings['style_formats_merge'] = true; to the code above. This extra bit of code makes sure your options are added to the “Formats” dropdown menu along with any other options previously registered by your theme or 3rd party plugins.
How to Add a Simple Custom MCE Button
Adding a new button to the TinyMCE editor is especially useful for shortcodes. As a user, it is a real pain to remember shortcodes, so having a button to easily insert one is very convenient.
If you want to add a bunch of buttons for inserting stuff into the editor, then you should create a submenu, as I will explain in the next section of this tutorial.
This is here only as reference, as I think this is plugin territory.
PHP Code — Declare Your New MCE Plugin
The following code will declare your new MCE plugin so that it shows up in the editor.
// Add action hooks for registering a custom MCE button
add_action(
    'admin_head',
    function() {
        // check user permissions
        if ( ! current_user_can( 'edit_posts' ) && ! current_user_can( 'edit_pages' ) ) {
            return;
        }
        // check if WYSIWYG is enabled
        if ( 'true' == get_user_option( 'rich_editing' ) ) {
            add_filter( 'mce_external_plugins', 'myprefix_add_tinymce_plugin' );
            add_filter( 'mce_buttons', 'myprefix_register_mce_button' );
        }
    }
);

// Declare your custom mce-button script
function myprefix_add_tinymce_plugin( $plugin_array ) {
    $plugin_array['my_mce_button'] = get_template_directory_uri() . '/js/mce-button.js';

    return $plugin_array;
}

// Register new button in the editor
function myprefix_register_mce_button( $buttons ) {
    array_push( $buttons, 'my_mce_button' );

    return $buttons;
}
JavaScript Code — Adds the Button to the Editor
This code below should go in the JS file registered in the snippet above in the myprefix_add_tinymce_plugin function. This will add a new text button that says “Hello World” in the editor and when clicked it will insert the text “Hello World!”.
(function() {
    tinymce.PluginManager.add( 'my_mce_button', function( editor, url ) {
        editor.addButton('my_mce_button', {
            text: 'Hello World',
            icon: false,
            onclick: function() {
                editor.insertContent('Hello World!');
            }
        });
    });
})();
How to Add a Custom Icon to Your New MCE Button
Above, I showed you how to add a new button that will display as “Hello World” in the editor. The following will show you how to add a custom icon to your button so that it stands out.
Load a Stylesheet with Your CSS
Use this function to load a new stylesheet in the WordPress Dashboard, where you can add custom CSS to target things such as your custom editor buttons.
// Load a custom CSS file in the wp backend
add_action(
    'after_setup_theme',
    function() {
        add_editor_style( trailingslashit( get_template_directory_uri() ) . 'css/editor-style.css' );
    }
);
Button Icon CSS
This is the CSS to add the stylesheet loaded previously.
i.my-mce-icon {
    background-image: url('path/to/your/icon.png');
}
Tweak Your JavaScript
Now simply tweak the JavaScript which you added previously to remove the text parameter and modify the icon parameter which was previously set to false so that it has a custom class name.
(function() {
    tinymce.PluginManager.add('my_mce_button', function( editor, url ) {
        editor.addButton( 'my_mce_button', {
            icon: 'my-mce-icon',
            onclick: function() {
                editor.insertContent('Hello World!');
            }
        });
    });
})();
How to Add a Button with a Submenu
Earlier, I mentioned that adding a ton of new icons to the TinyMCE bar is a bad idea (and it is). The code below is an example of how you can edit your JavaScript to display a submenu with multiple options when clicking on the button.
This is here only as reference, as I think this is plugin territory.
(function() {
    tinymce.PluginManager.add('my_mce_button', function( editor, url ) {
        editor.addButton( 'my_mce_button', {
            text: 'Sample Dropdown',
            icon: false,
            type: 'menubutton',
            menu: [
                {
                    text: 'Item 1',
                    menu: [
                        {
                            text: 'Sub Item 1',
                            onclick: function() {
                                editor.insertContent('Hello World!');
                            }
                        },
                        {
                            text: 'Sub Item 2',
                            onclick: function() {
                                editor.insertContent('Hello World!');
                            }
                        }
                    ]
                },
                {
                    text: 'Item 2',
                    menu: [
                        {
                            text: 'Sub Item 1',
                            onclick: function() {
                                editor.insertContent('Hello World!');
                            }
                        },
                        {
                            text: 'Sub Item 2',
                            onclick: function() {
                                editor.insertContent('Hello World!');
                            }
                        }
                    ]
                }
            ]
        });
    });
})();
How to Add a Settings Popup Window to Insert a Shortcode
In the example above, you may have noticed that every button simply inserts the text “Hello World” which is cool, but perhaps you want to display a field where you can enter the custom text that will be inserted.
The following snippet shows how to create a popup window with multiple settings that will insert a shortcode based on user input.
(function() {
    tinymce.PluginManager.add('my_mce_button', function( editor, url ) {
        editor.addButton( 'my_mce_button', {
            text: 'Sample Dropdown',
            icon: false,
            type: 'menubutton',
            menu: [
                {
                    text: 'Item 1',
                    menu: [
                        {
                            text: 'Pop-Up',
                            onclick: function() {
                                editor.windowManager.open( {
                                    title: 'Insert Random Shortcode',
                                    body: [
                                        {
                                            type: 'textbox',
                                            name: 'textboxName',
                                            label: 'Text Box',
                                            value: '30'
                                        },
                                        {
                                            type: 'textbox',
                                            name: 'multilineName',
                                            label: 'Multiline Text Box',
                                            value: 'You can say a lot of stuff in here',
                                            multiline: true,
                                            minWidth: 300,
                                            minHeight: 100
                                        },
                                        {
                                            type: 'listbox',
                                            name: 'listboxName',
                                            label: 'List Box',
                                            'values': [
                                                {text: 'Option 1', value: '1'},
                                                {text: 'Option 2', value: '2'},
                                                {text: 'Option 3', value: '3'}
                                            ]
                                        }
                                    ],
                                    onsubmit: function( e ) {
                                        editor.insertContent( '[random_shortcode textbox="' + e.data.textboxName + '" multiline="' + e.data.multilineName + '" listbox="' + e.data.listboxName + '"]');
                                    }
                                });
                            }
                        }
                    ]
                }
            ]
        });
    });
})();
I said the above is plugin territory, but FX Builder could have some useful features. I just need to think what they are ;)