For this tutorial, I will use the WP Google Consent Platform (GCP) plugin for WordPress.
This is a two-step operation.
Table of Contents
Step 1 — Your WordPress Website
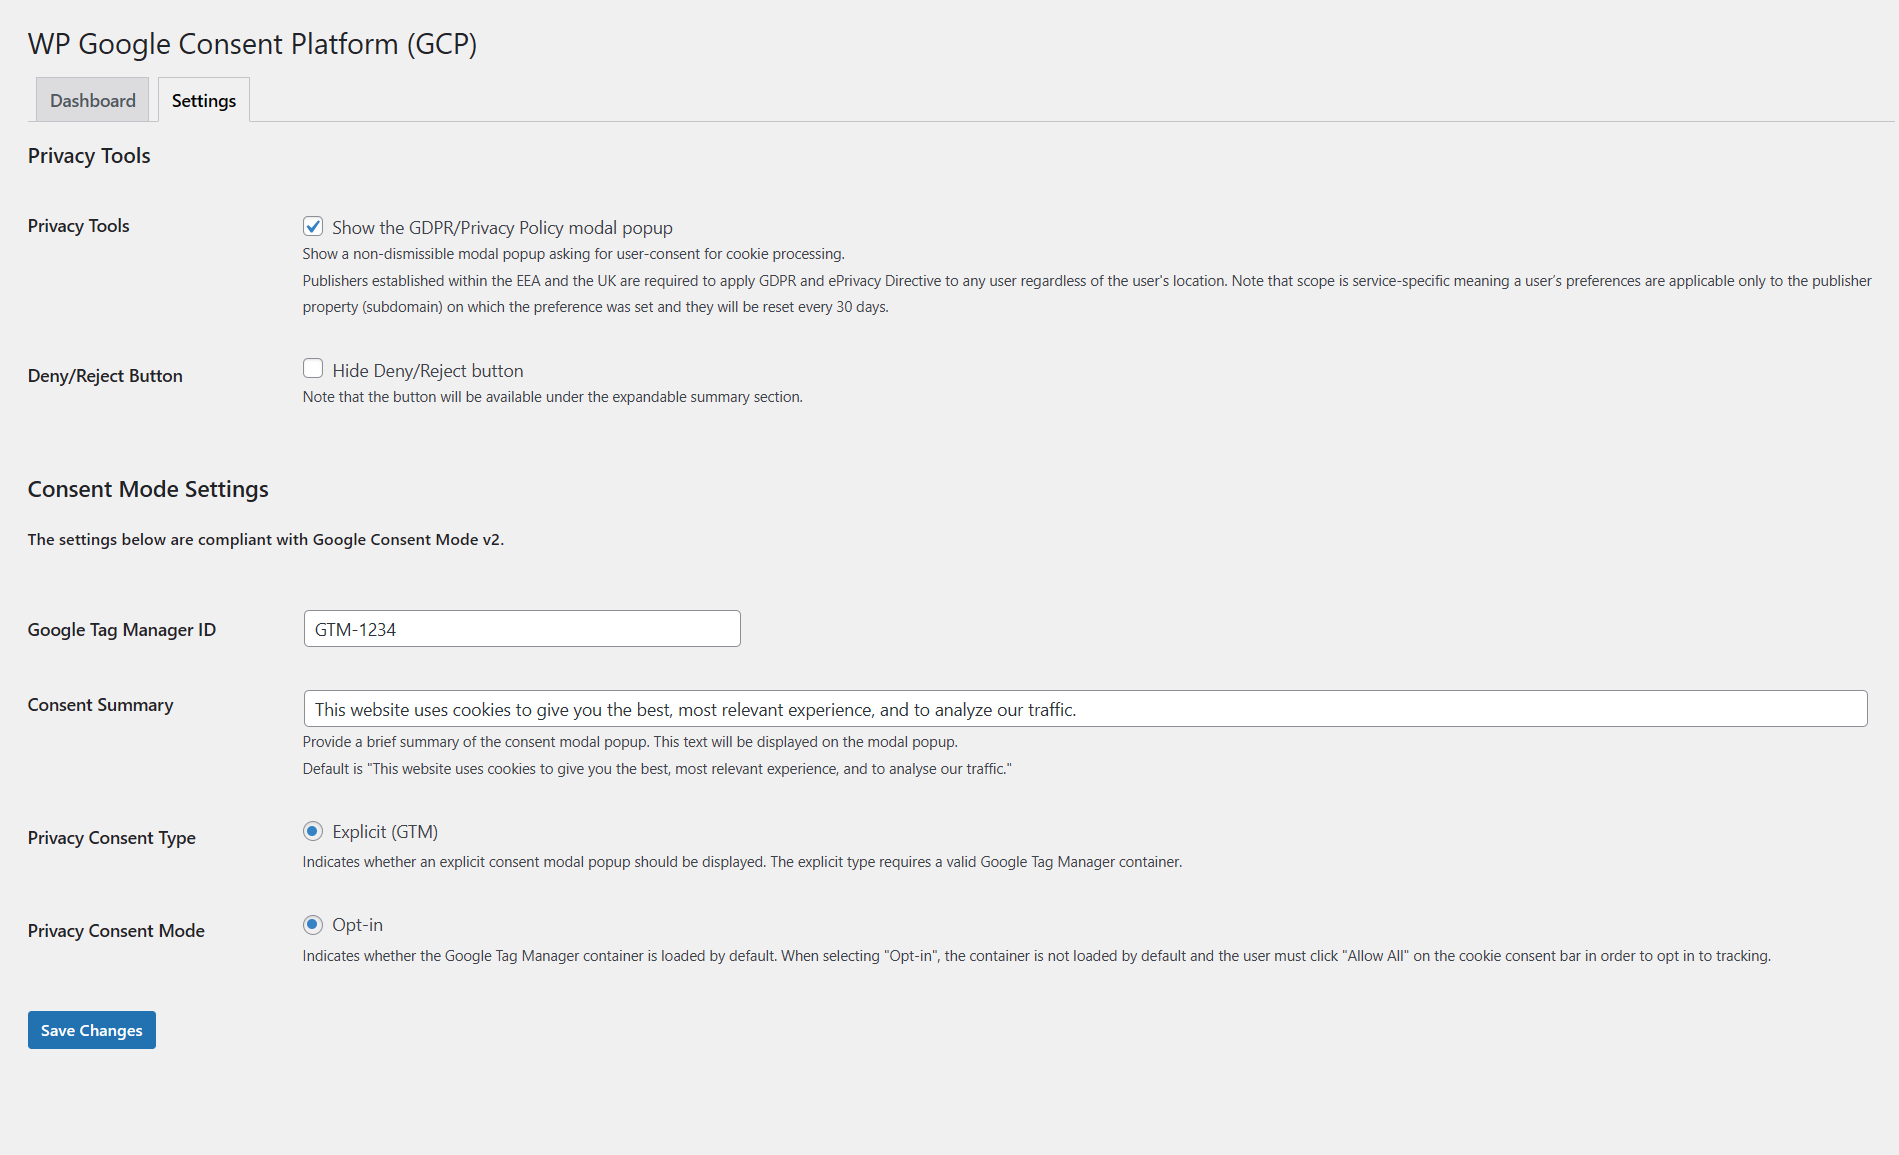
First, install the WP Google Consent Platform (GCP) plugin. In your WordPress Dashboard, go to WP GCP, and configure the plugin:
Checklist
- Make sure you have a Privacy policy page for your website. Make sure it is correctly assigned in WordPress’ Settings → Privacy section.
- Make sure you tick the “Show the GDPR/Privacy Policy modal popup” checkbox (as illustrated in the screenshot above).
- Depending on your requirements, tick or untick the “Hide Deny/Reject button”. This will hide the “Deny/Reject” button, making the users unable to browse your website without accepting the privacy policy.
- Make sure you add a valid Google Tag Manager ID (as illustrated in the screenshot above).
Compatibility
The plugin is fully compatible with the latest version of Google Tag Assistant, Google Tag Manager, Google Analytics and Google Ads.


Step 2 — Google Tag Manager
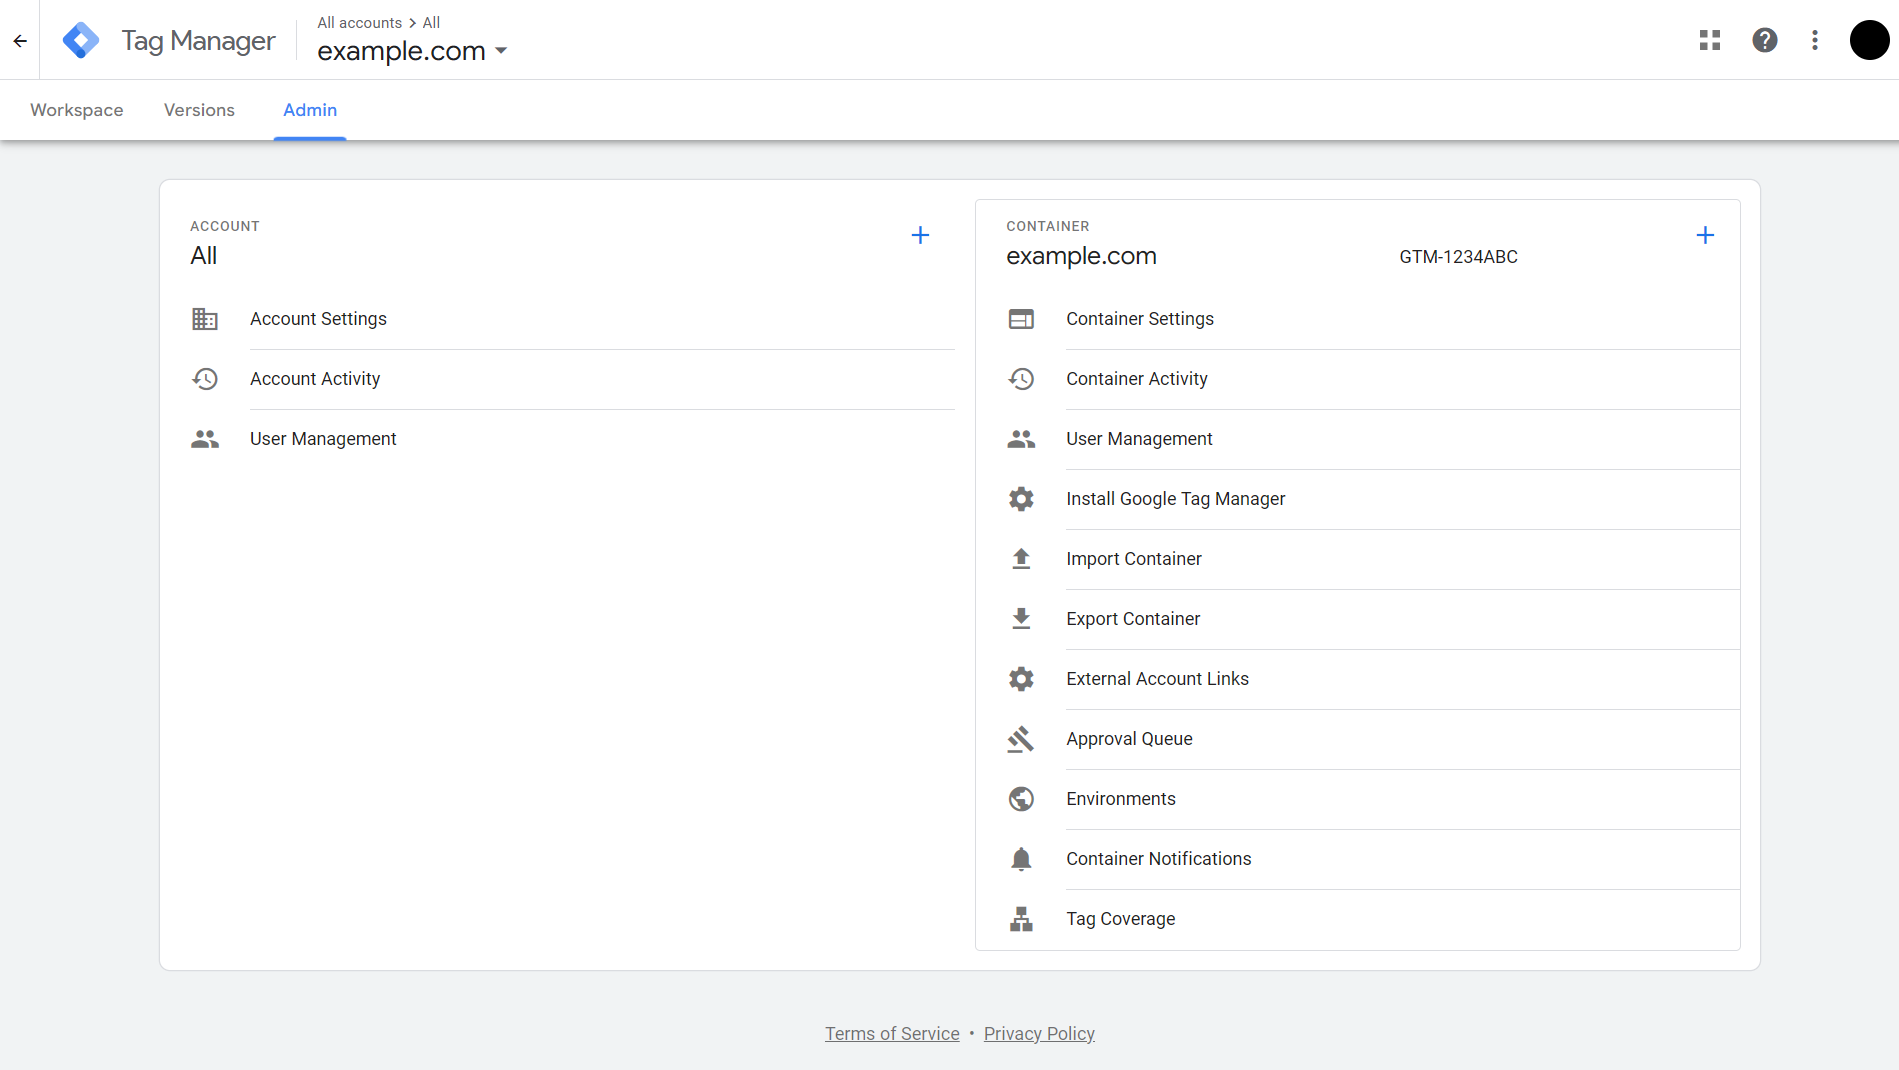
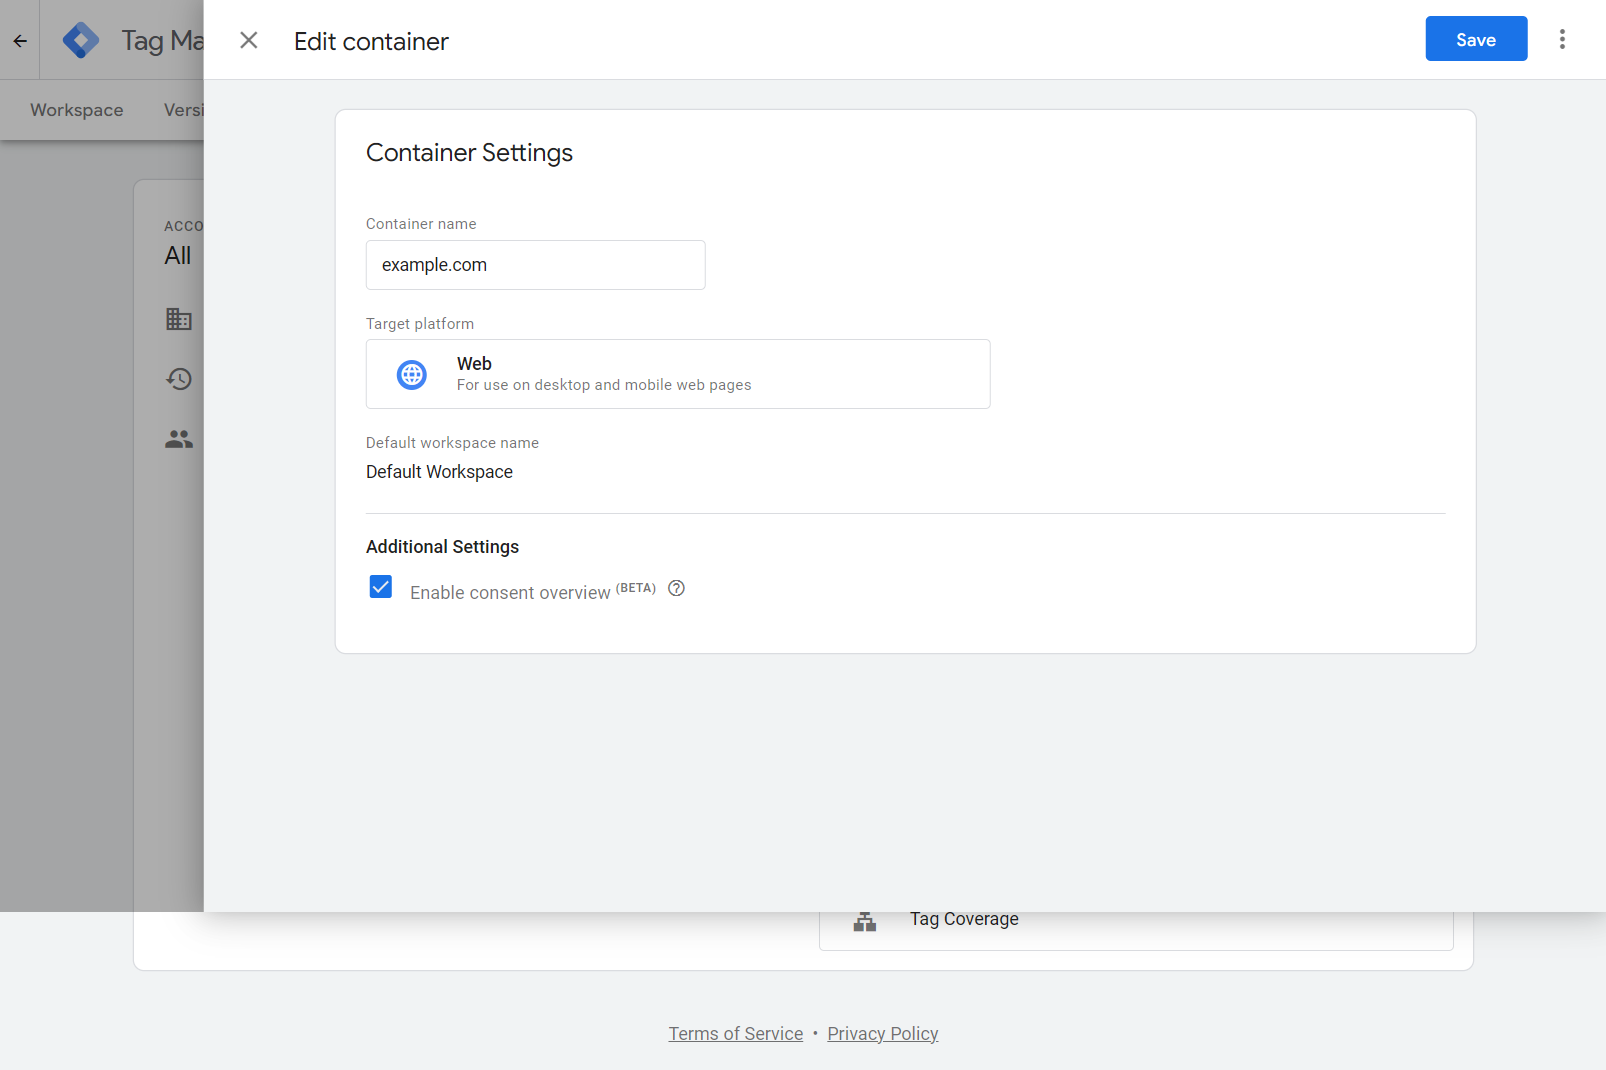
Head over to your Google Tag Manager account, select the Admin tab, go to Container Settings and enable Consent Mode (tick the “Enable consent overview” checkbox).
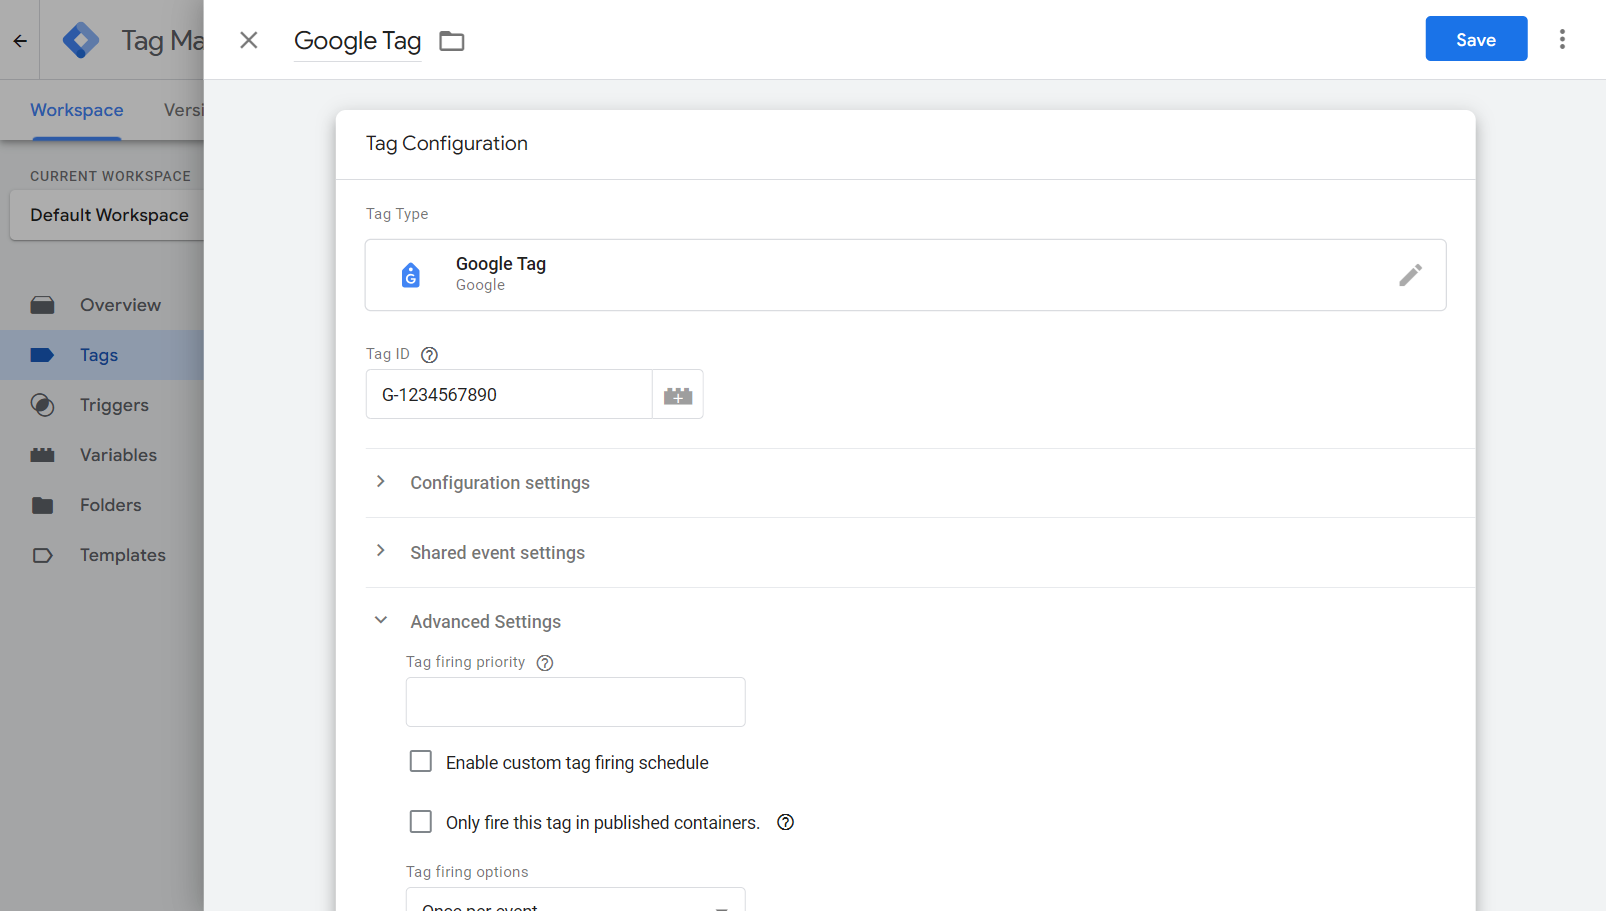
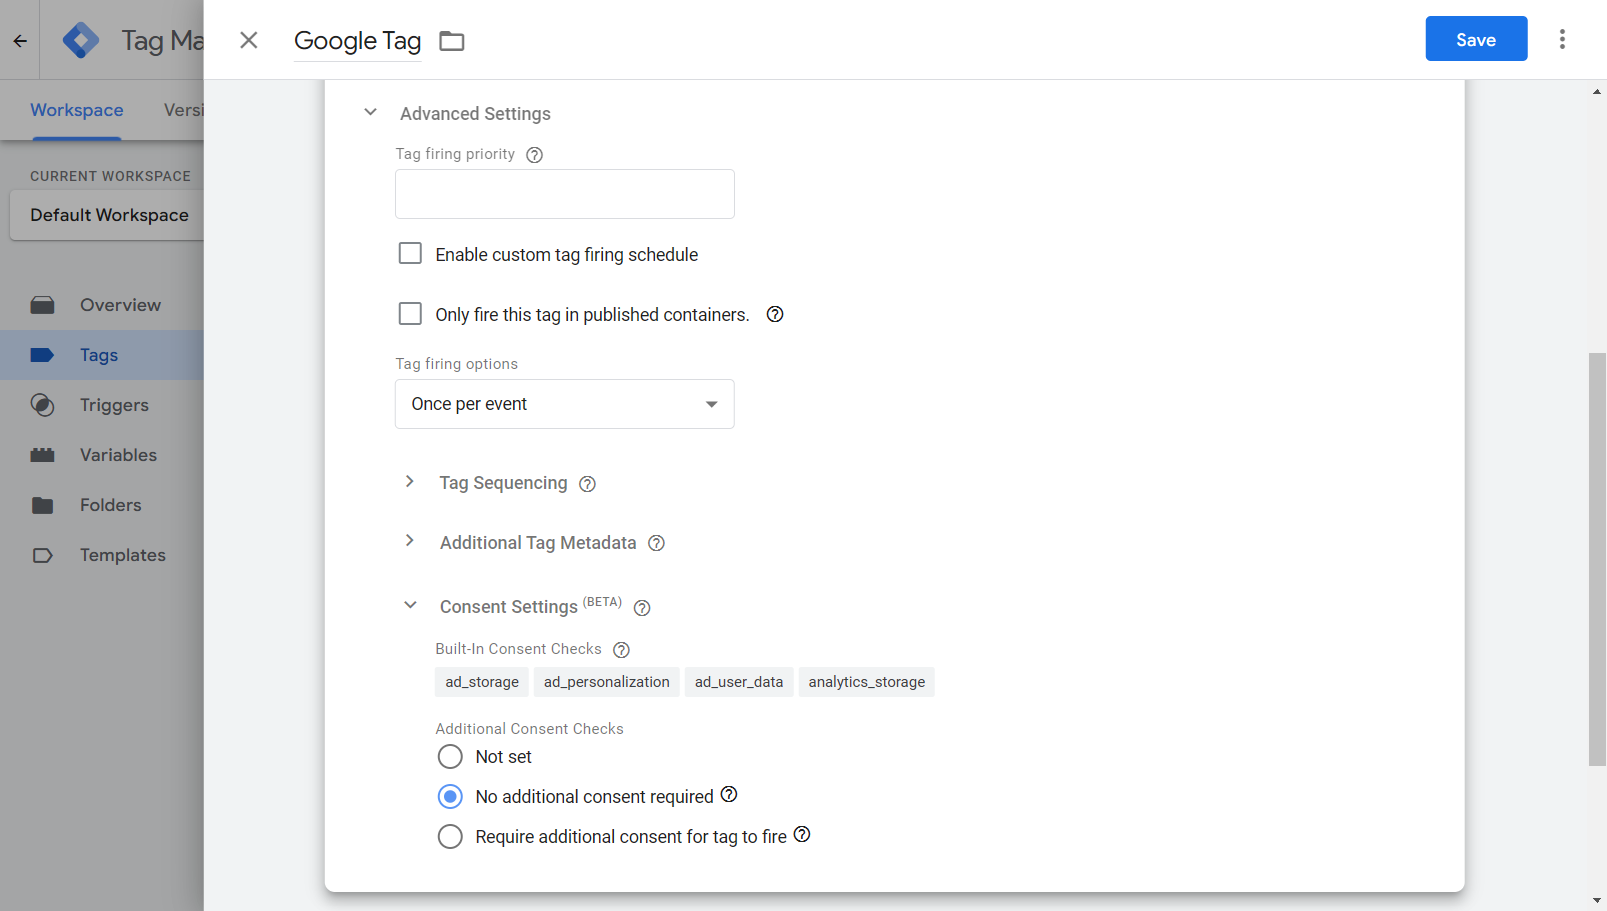
Next, go to each Tag you need to set consent for, go to Advanced Settings → Consent Settings and tick the “No additional consent required” checkbox.
Select this option to indicate that your tag does not need to check for additional consent in order to fire. Note that all Google tags have built in consent modes. Other networks and providers might have built-in consent modes, such as Facebook, X, LinkedIn, and so on.
If a provider requires a specific consent mode, then tick the “Require additional consent for tag to fire” checkbox, and add your consent modes.
Google Analytics (GA4)
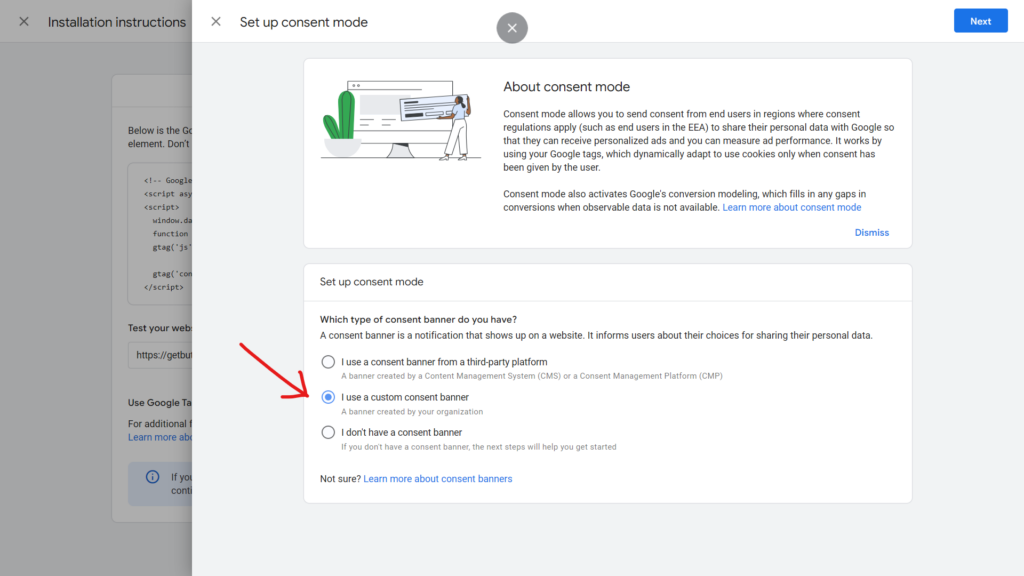
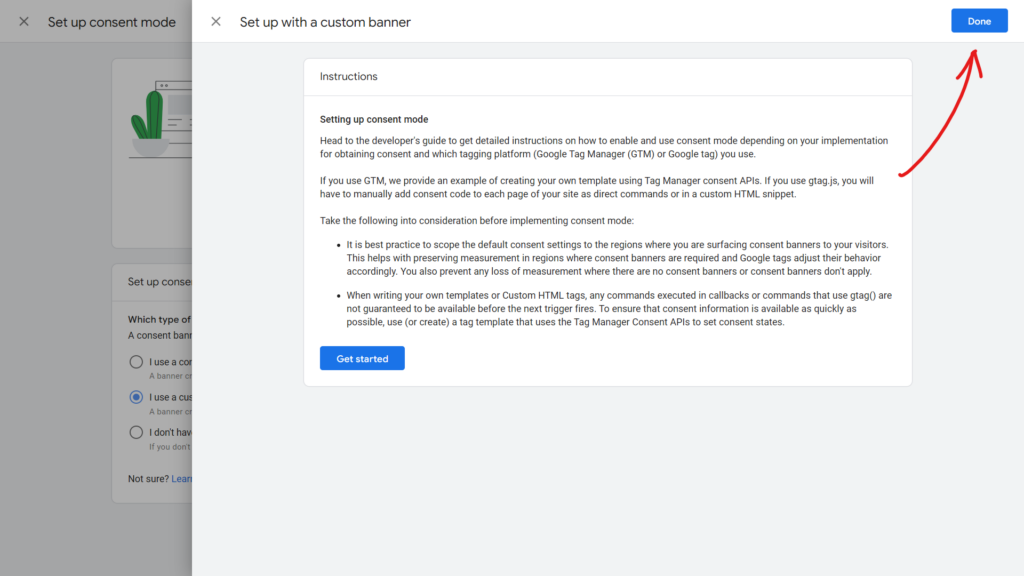
When configuring GA4, you get the option to select which type of user consent platform you use.
When installing your GA4 tracking script, select the “Install manually” option, then follow the steps below:
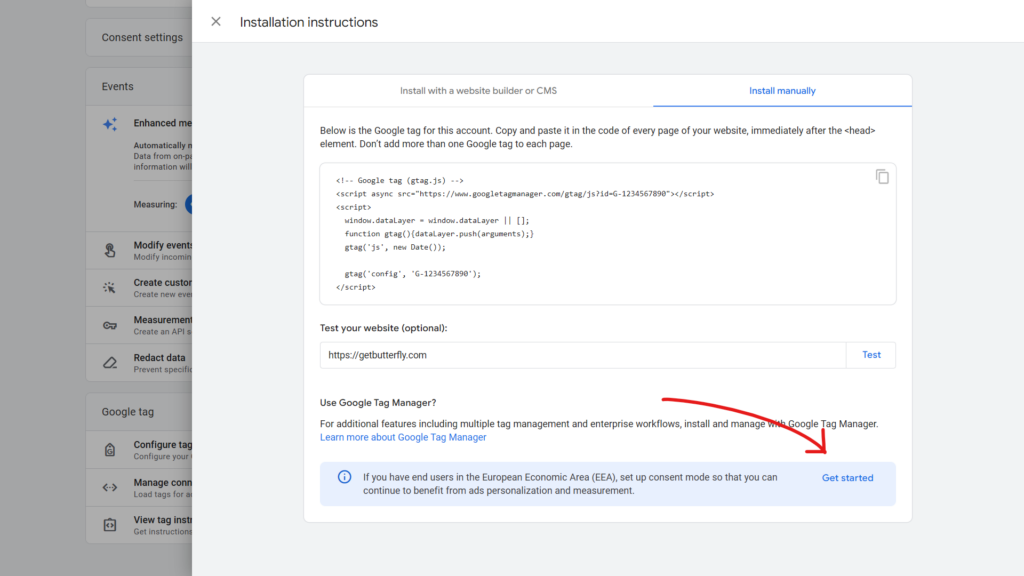
You can find your GA4 tracking code in the GA4 Dashboard in Admin — Data collection and modification → Data streams, select your property, then select the “View tag instructions” option.
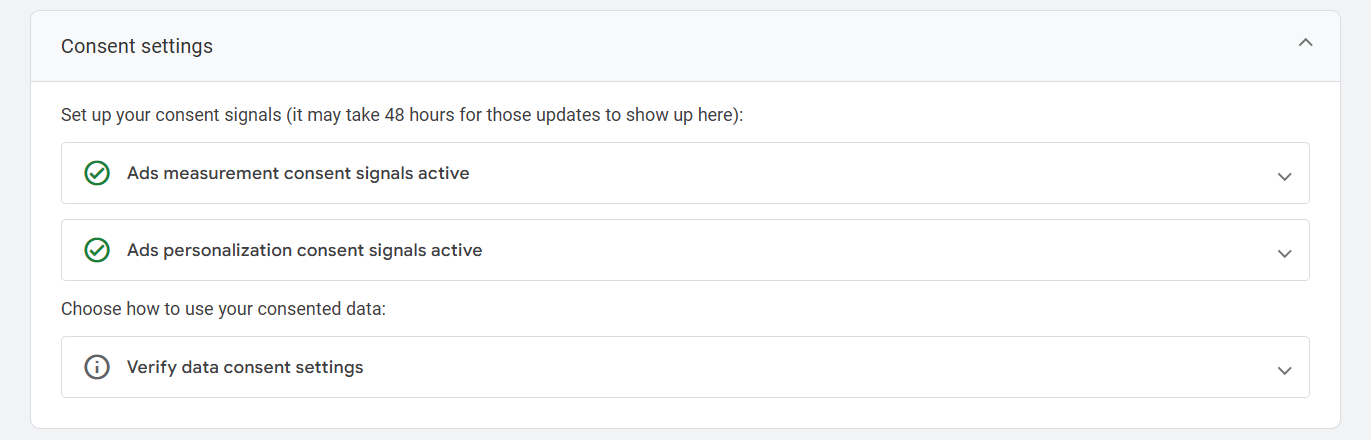
After 24–48 hours, GA4 will show you a green check mark, confirming your setup is correct: